SC template.

Posted: October 7, 2012 in Uncategorized
Tags: , ,

I thought id get a picture of the SC drilling template sat on the block showing the re-drilling positions that are required to match the head to the block.

Shown below.

Image

Some other jobs i have been getting on with was to clean up the gearbox ready to go to Guessworks for rebuilding. I would have done this myself but with the increased torque that will be produced by this engine, I would rather Guessworks build a gearbox that will be able to put the traction onto the road as best as possible and minimise the chances of any breakages.

Parts supply…

Posted: October 5, 2012 in Uncategorized
Tags: ,

A few bits arrived today.


4 x AE 21253 +060″ Slipper type pistons.

Cam bearing set

Core plugs

5 x Long head studs.

Mini Spares centre main strap kit.

The pistons will have to go away to SC to be machines for valve pockets this should be done in a couple of weeks. The centre main journal cap will also be machined by the engineering company to alloy the fitment of the steel strap. It is fitted to improve the strength of the centre cap as cranks have been known to flex slightly at higher RPM’s.


Plug It…

Posted: October 5, 2012 in Head

The 2 remaining cylinder head plugs have been made in the evenings this week. These are used to blank the original BMW head oil return to sump galleries. Next week the head will go off to Radtec to be have these inserts welded in and the timing chain area at the one side of the head blanked off allowing the SC conversion to run a dry belt setup. Below are the plugs manufactured from 19mm alloy bar. After welding the head will be skimmed flat to confirm a good seal on the A series block face. These inserts will then be drilled and tapped to 3/8BSP and angled unions fitted to allow the use of remote oil drain lines back to the the mini block via the now redundant mechanical fuel pump location.

Making bath tub shaped inserts by hand is not really the nicest of jobs around. Around 2 hours of test fitting, removing the plug then taking a little material at a time off until an acceptable fit was achieved.

Other small jobs completed this week have been to clear out the exhaust stud threads on the head, removing the exhaust gasket copper rings. Cleaning cleaning and more cleaning…

What this will look like.

Posted: September 29, 2012 in Block, Head, Uncategorized
Tags: , , , ,

Everyone likes a quick mock up…

I’m not a fan of red engines…

Posted: September 29, 2012 in Block

Image

The 1275 donor unit was purchased complete minus the original cylinder head that was removed by the previous owner to replace a head on another 1275 unit. In this state this engine was perfect for this conversion and at its price it was a bargain.

The unit was immediately stripped down to find that the engine internals were is excellent mechanical condition and just looked like it required a little cosmetic clean up. I was unaware of the milage of this engine so this was a pleasant surprise. The engine was stripped and visually inspected to component form to undergo its re-working and machining.

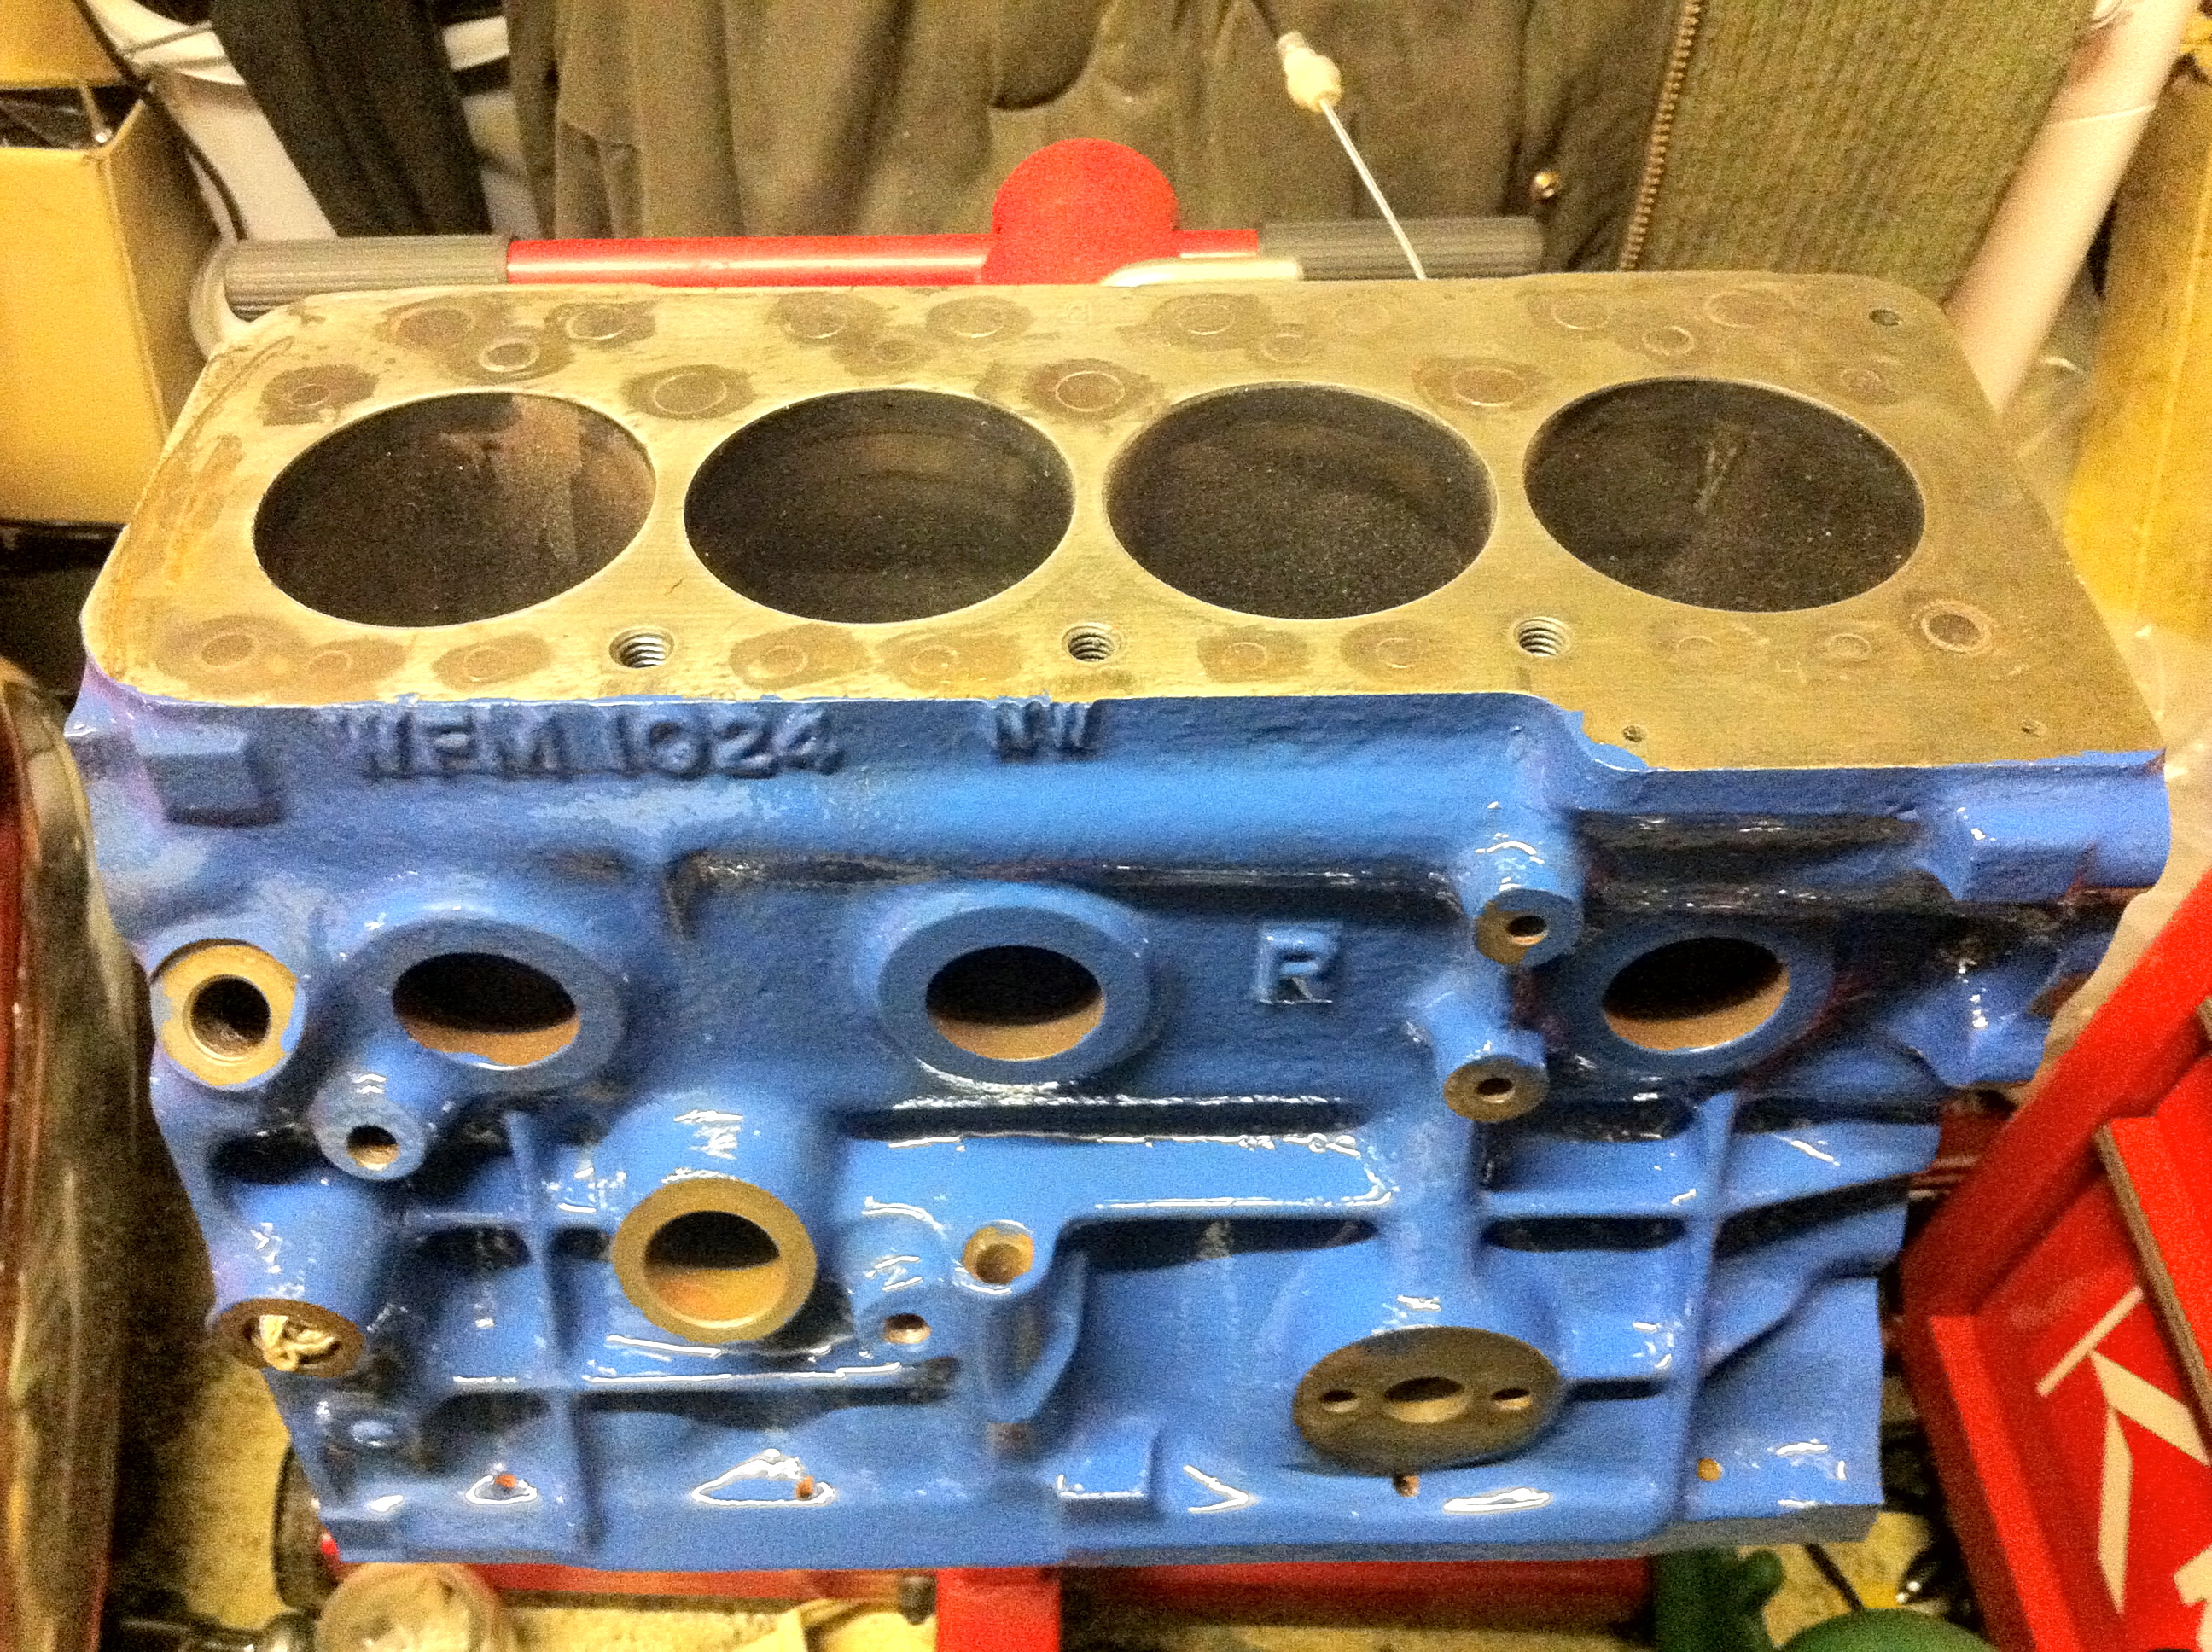
Im not a fan of red engines and the previous owner has decided to paint over old engine oil, and dirt and it looked terrible. This was removed on the the block clean up, the block was degreased and then the block repainted with 3 coats of high temperature paint.

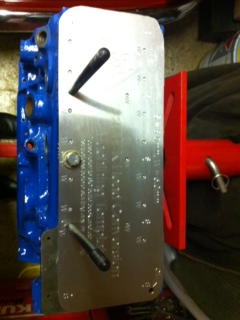
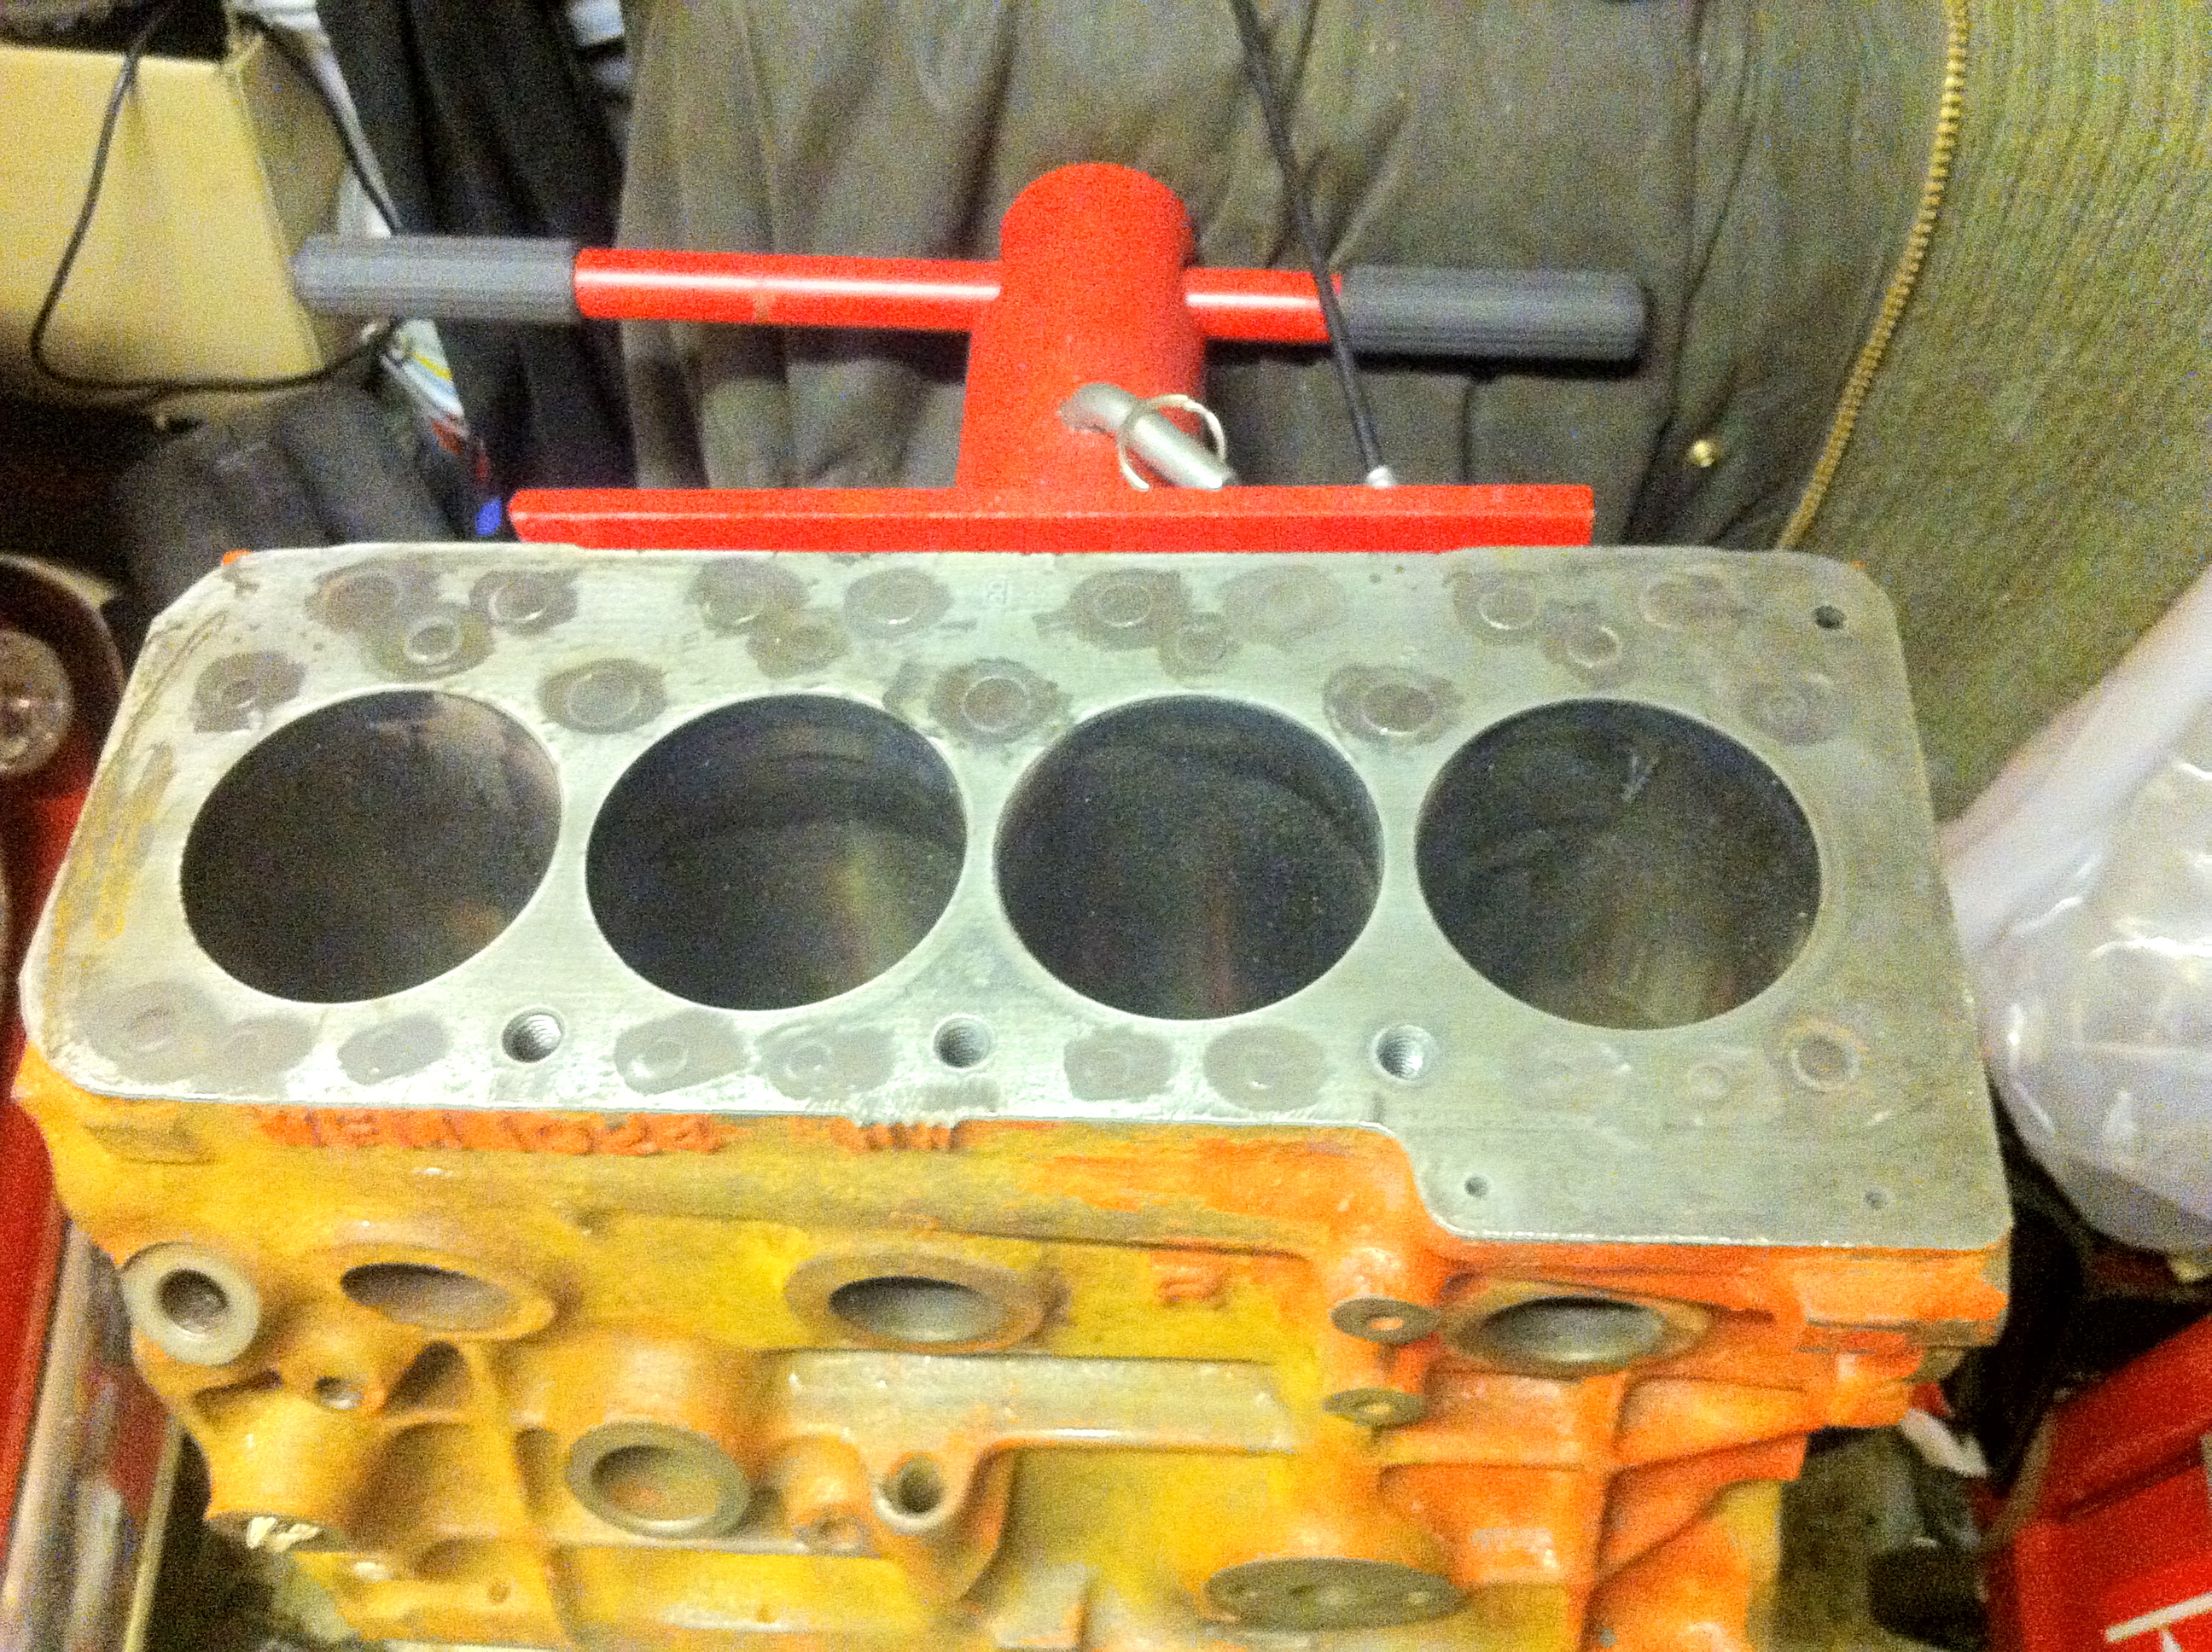
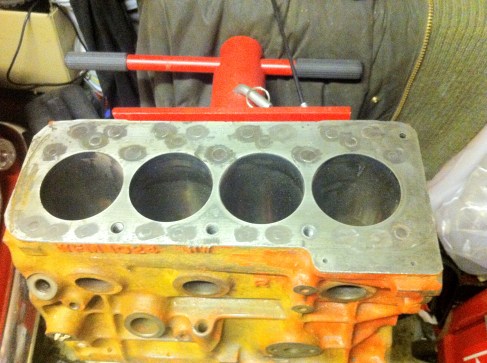
The picture above also shows the cylinder block face modifications (plugging) complete ready to now go away to the machine shop and be rebored to +060″ oversize taking engine capacity to 1330. The engine will also have new cam bearings fitted and the block face skimmed to confirm flatness. All plugs were drilled and tapped in metric sizes and then mild steel inserts fitted, sealed and locked into place while the sealer went off.  Make sure you check that the thread-lock / sealer you are going to use is suitable and seals even at high temperatures. You do not want leaks anywhere around here once this is put back together.

Note: The 3 front original “A series” 5/8 UNC stud holes are left as they match the BMW K100 head in their original positions. The block face will then be re-drilled following the specialist components template to match the “A series” block to the 10 head stud pattern of the BMW cylinder head. The A series rocker feed oil gallery hole remains in its original place in the block. The BMW head oil feed drilling will be welded and re-drilled on an angle to match and supply oil to the head. If you do not want to do this there is another option. This hole would also be plugged in block and head and an external oil feed can be run. The block will have to have an external drilling into an oil gallery and then tap a line into the m8 oil gallery test port location on the new head. If your going this far you may also considering the “dry deck” setup.

Tapping shown below and then block repainted below that.

Image

The start

Posted: September 28, 2012 in Uncategorized

Welcome.

The purpose of this blog is to follow the build process of a Specialist Components based 1330cc twin cam A series engine conversion into my 1979 mini 1000.

The car:

The car build started in 2006 and over 5 years was converted into a lightweight Gulf racing GT40 inspired sprint car. The only issue since its been back on the road…. well its just not fast enough. After the time and money spent on the car it needs an engine to match its looks.

The idea:

Around 115 Bhp and 95 Lbft of torque in a car that weighs less than 650KG’s.

The deadline:

May 2013