Archive for February, 2013

Continued head work.

Posted: February 19, 2013 in Uncategorized

At the end of last week I dropped my cylinder head off at Toovey road and race engines for them to mill the end closing plate flat and perform the last couple of jobs on the head. These include cleaning, skimming the head, fitting the new set of valve stem seals, drilling and tapping the oil drain return lines into the bath tub inserts that were welded into the head by Radtec a few months ago. These will be drilled and tapped to 3/8″ BSP and then fitted with a straight to JIC adapters that will then connect to 45 degree elbow fittings allowing pipe work to be ran to the sump oil return manifold where the original fuel pump would have bolted to the engine.

Other jobs that I can start when the head is returned is to clean and re-lap the valves and then reassemble the lot.

On Saturday I decided to grind off the BMW logo on the alloy HT lead/ spark plug cover. The way it fits in the a series conversion is the incorrect way round so if the bonnet was opened admirers would see the badge upside down. It’s not able to be mounted 180 degrees around so I took the grinder to it. I’m planning to flatten this off properly at a later date and either paint it to match the cam cover or blast it so it remains it’s natural alloy colour.

Image

Lettering removed

Image

Original HT / Plug cover plate

Advertisement

Cam cover machining

Posted: February 11, 2013 in Uncategorized

The Pistons and camshaft cover has been been received in the post back to me by SC as promised.

The pictures below show the timing chain end of the K100 cam cover milled off square. This face can now be butted up against the SC end plate when fitted back onto the cylinder head. The original BMW large outer cam cover gasket will have to be trimmed to allow for this modification and some good quality RTV sealer used to seal along the face up to the end plate when it goes back on.


Looking at the cam cover i think i may be able to remove the fins(flatten off) to 5-10mm back from the machined edge and use something else than RTV to actually wrap over the lip and seal up to the end plate. This may be something to try at a later date once the engine is up and running. Possible black silicone vacuum tubing around 4mm internal diameter split down one side so it can be slid onto the lip.

image

SC machined cam cover

image

SC machined cam cover

Also below is one of the pistons shown with valve pockets milled into the crown. For anyone that wants to know the Inlet relief is 34mm and the exhaust relief is 31mm at their widest points. SC state in their manual that these are milled to a depth of 4.5mm into the piston crown.

image

SC piston valve pockets

Gearbox and transfer.

Posted: February 4, 2013 in Uncategorized

After speaking with Simon from SC when attending Bingley Hall and purchasing my parts. The estimated engine figures are as expected and SC confirmed that with the spec i’m building we are looking at around the 115bhp mark. I have also been in contact with John @ Guessworks regarding the gearbox specs. Now as the car is not a “tourer” and more of a “weekend mess around” or sprint car so i’m a little un certain of what is best for my application. Im not one to be banging through the gears and constantly driving like a mad man but i’m sure that i’m going to need something a little more than just a rebuilt box, std drops and a four pin diff. Comments are welcome on this one guys so please feel free to leave your recommendations on gear sets, drop gears, and diff ratio’s. Currently i believe the box is a 3.44 diff setup. SC recommend in their build manual a 3.44 or a 3.1 diff for their 1293 8 valve engine. Probably just depending on the usage of the car?

What I need to know is. What works for what i’m looking for and whats a waste of time and money?

I also would like to try and find some more info on the floating bush setup in the primary gear? Anyone out there prepared to give a little explanation on this and what the benefits are of running this setup are and is it advisable for a higher than standard power engine?

Also had a phone call today (Monday 4/2/13) from John at SC stating that my pistons and cam cover have been machined and are ready for shipping. It’s good service at SC! These were asked to be posted at the end of this week as i will be away and the items will just be sat at the post office no doubt getting kicked around the floor.

Its stated to move along now.

Ad

Its been some time since i have updated this so this one is a long one…

I have finally taken the plunge and the conversion kit is here. It was picked up from Bingley Hall Mini show last weekend. Specialist components were showing some quality engineered products and an array of nice engine set ups. One being a 16v conversion with a supercharger bolted up to it with power graphs to show power outputs of around 240bhp. The price at 11,000 – 12500GBP is just slightly (not) out of my price range and the power outputs would be far to much for the car i have. But all in all it was an absolute monster. I’d like to know from SC maybe after some road or race tests how the gearbox holds up to these figures. There was a conventional mini head setup showing the use of there typhoon injection system utilising some very nice design and manufacturing. If you wanted to keep the A series engine as standard as possible but convert to injection this is the way i would be going. The below pictures show the SC 240bhp animal.IMG_1283

SC 240BHP
IMG_1282

SC 240 bhp

IMG_1281

SC 240 bhp

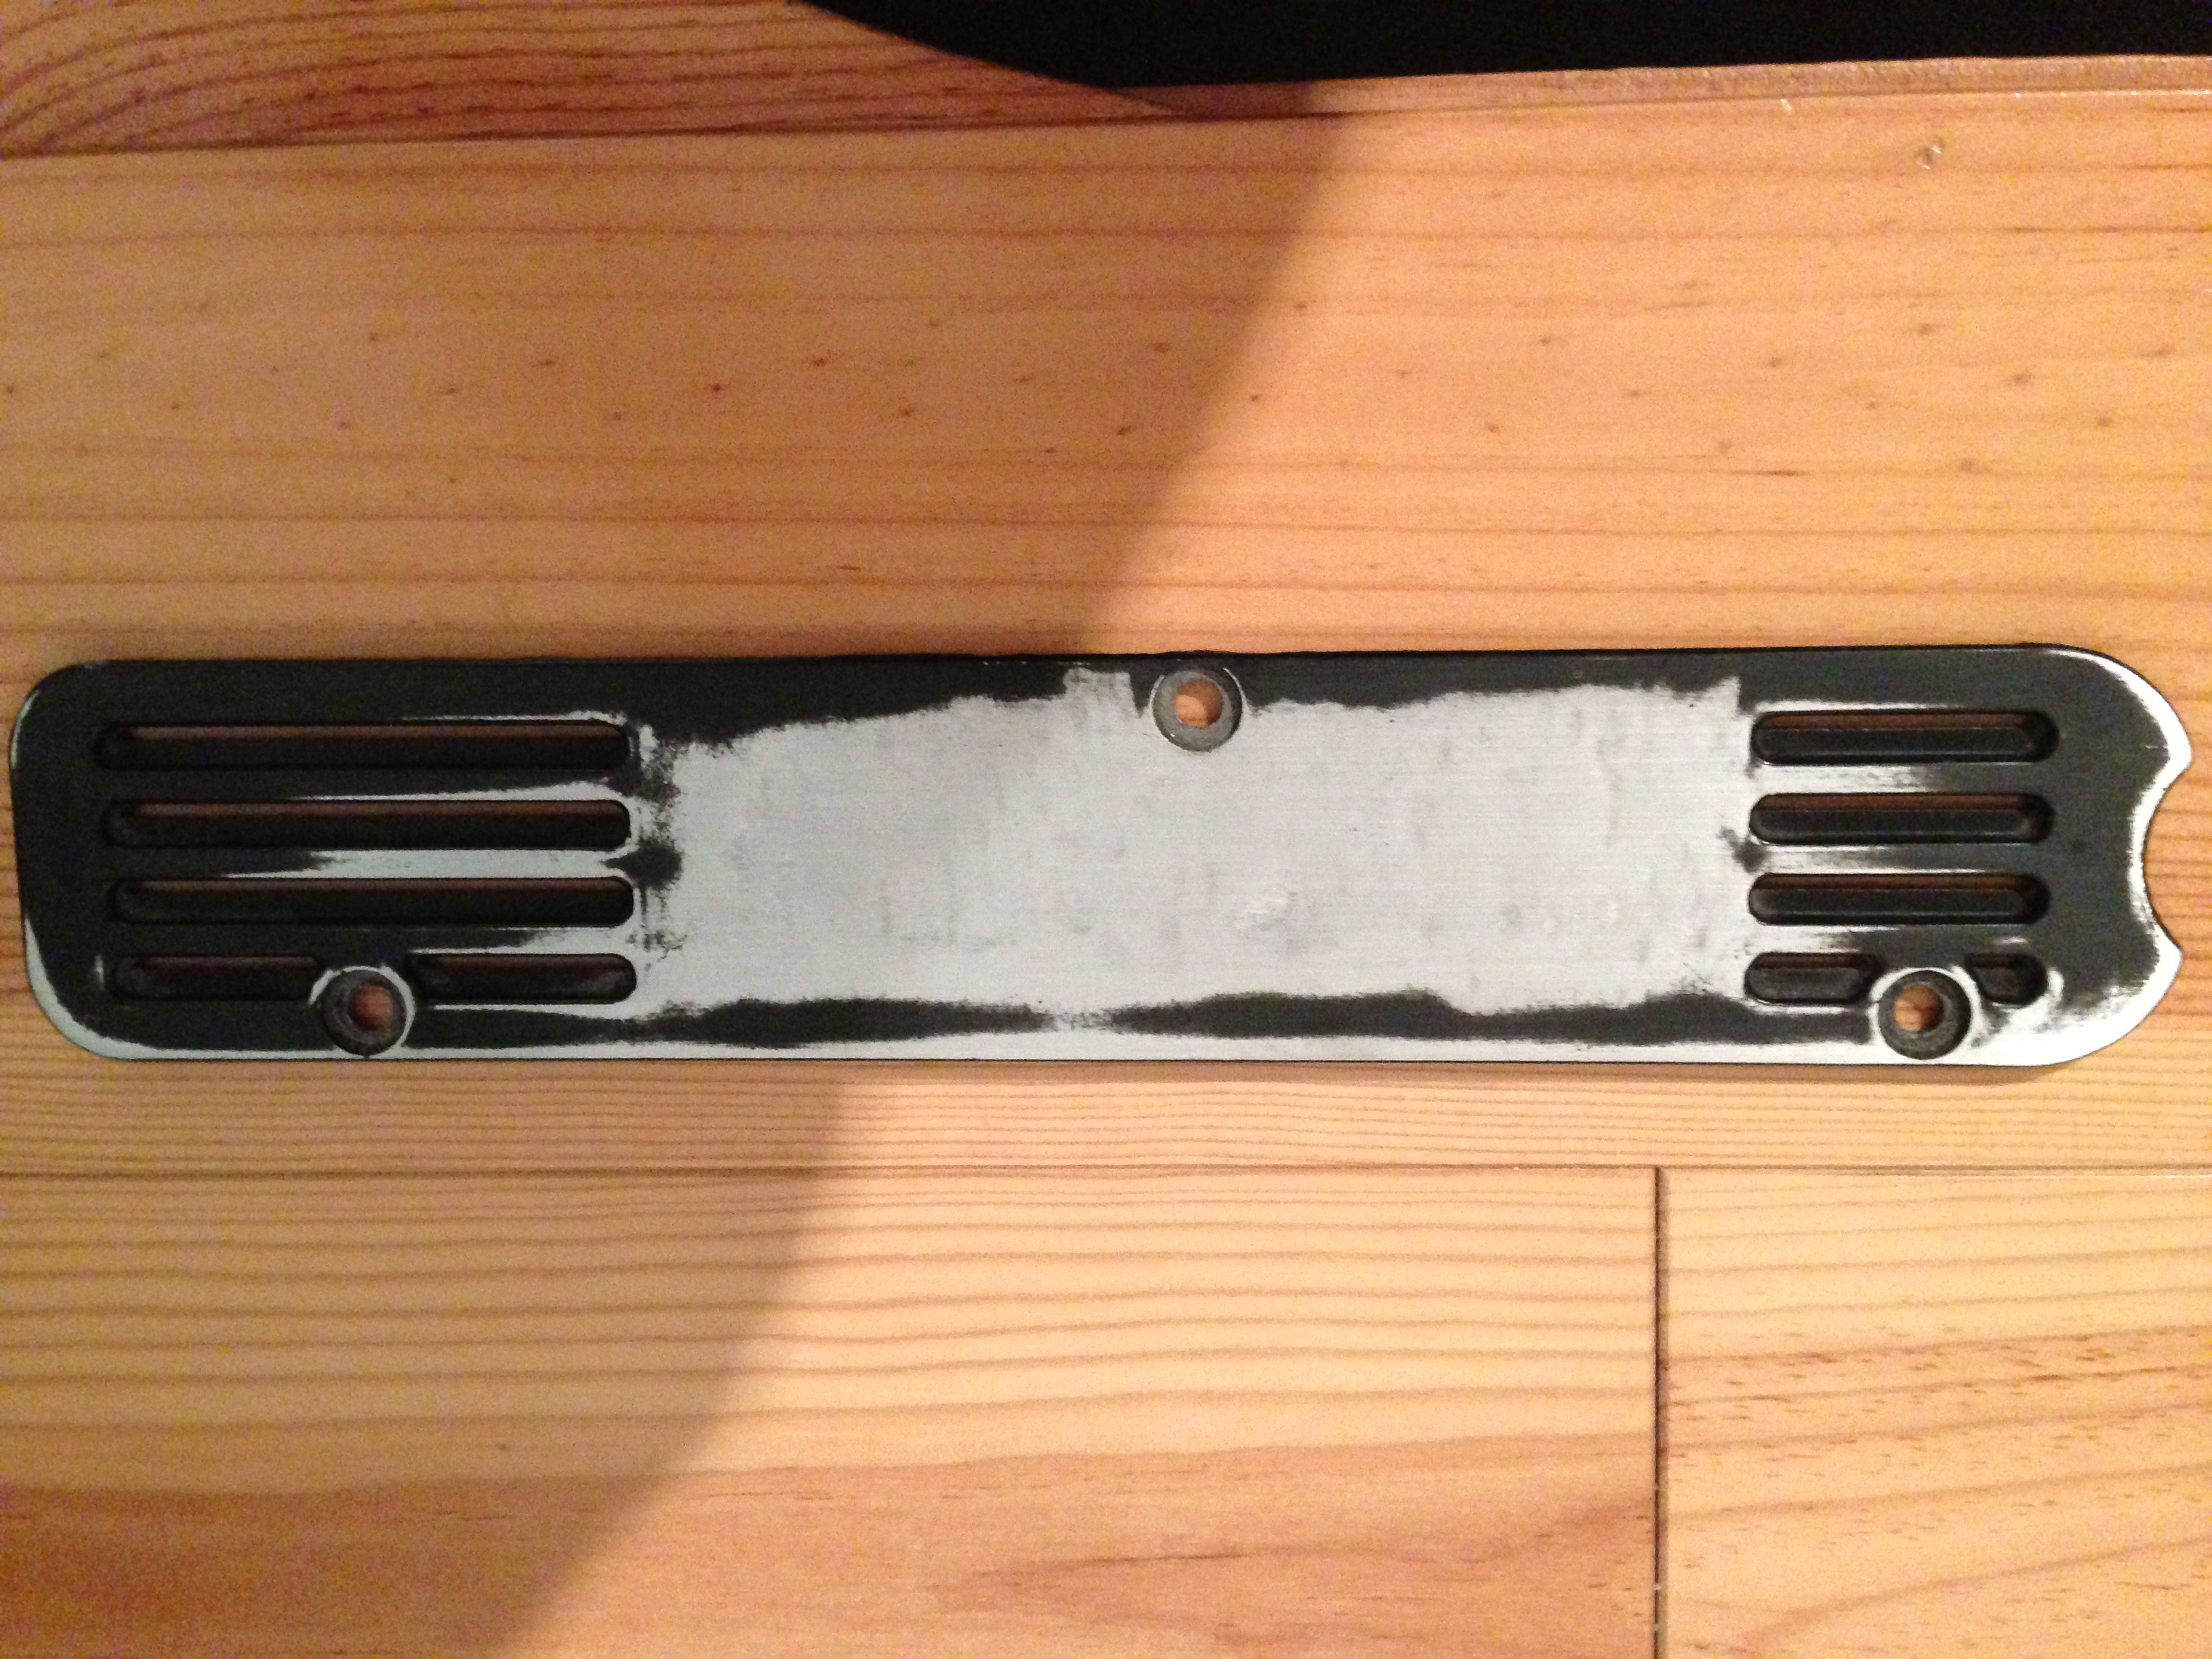
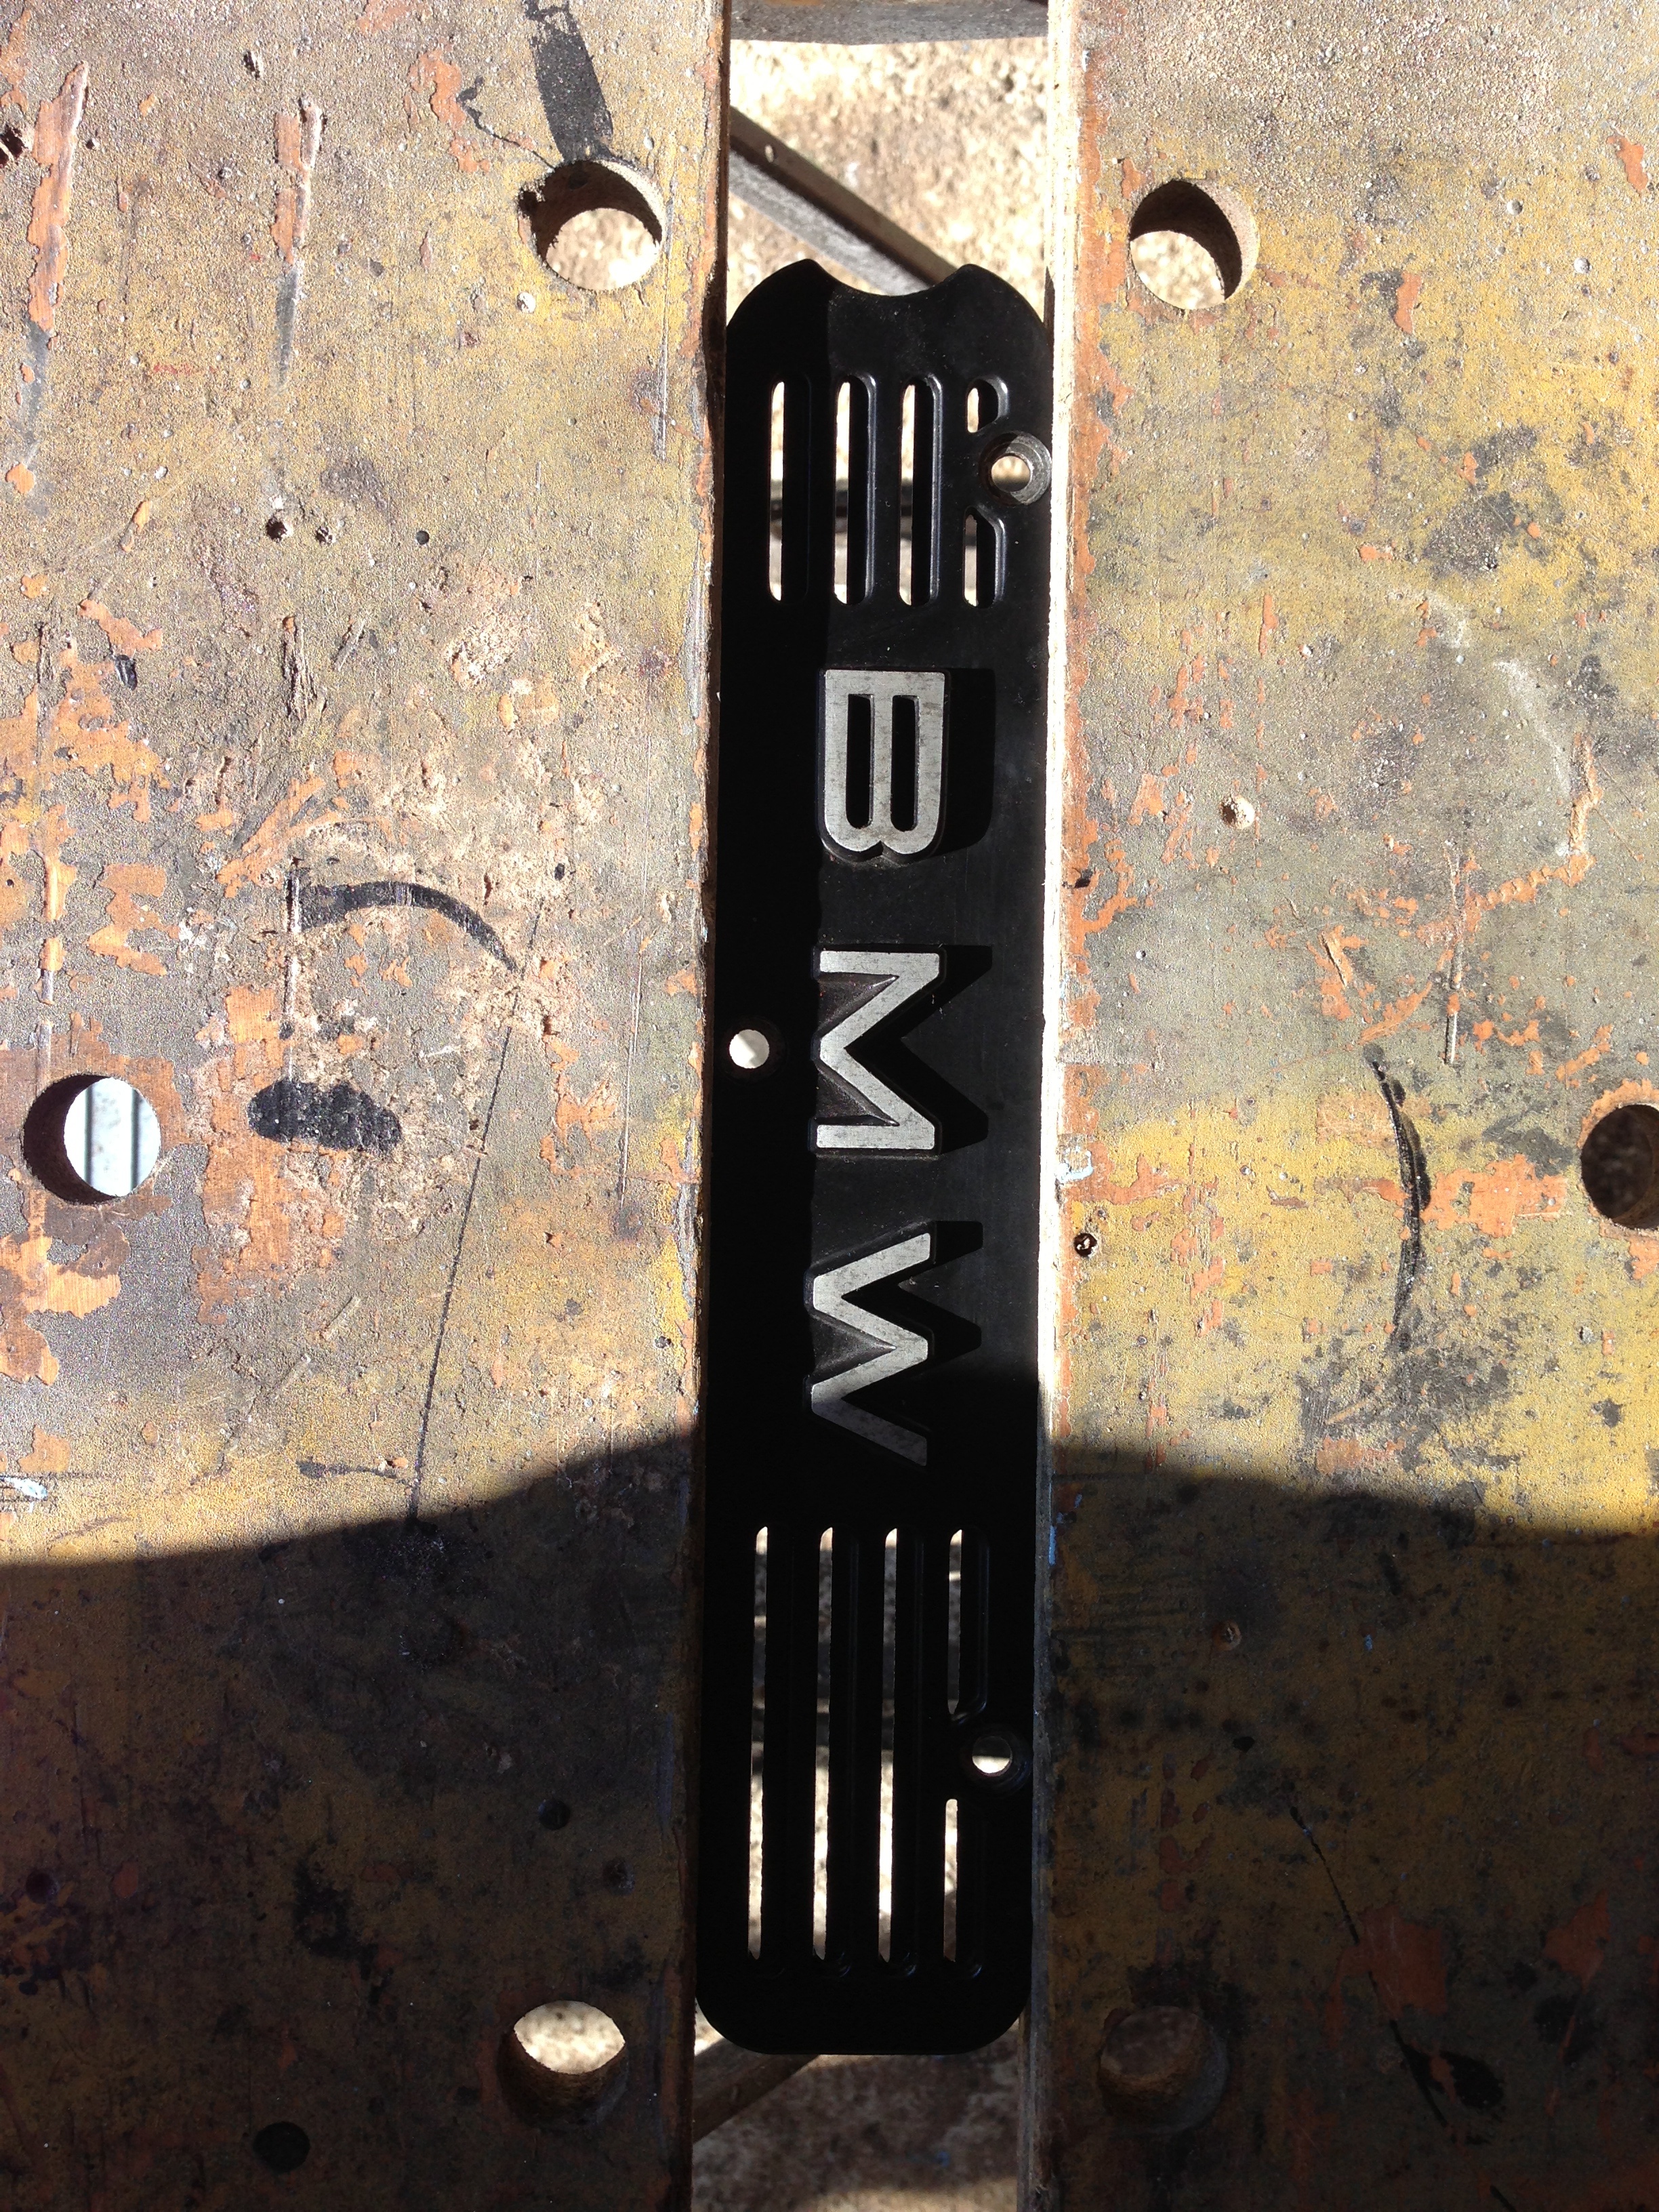
So the pistons were dropped off with SC at Bingley to have the pockets cut into them. My rocker cover has also been handed over to have the cam chain end machined flat to seal against the SC front plate. SC offered me some superb discounts on the day so i picked up most of the parts from them that i needed to get the engine head built up.I purchased a; Conversion kit, ancillaries kit, 0.6mm head gasket and a remote thermostat. Pictures below show the parts that are now ready to be built up onto the block. The quality of the components is shown in the pictures – amazing!

IMG_1299

SC Billet K1100 ram pipes

IMG_1298

SC billet timing cover plate and head end plate

IMG_1297

SC cam bolts and adapters

IMG_1296

SC gearing

IMG_1295

SC Billet remote thermostat and Oil return breather manifold

IMG_1294

SC Billet head top hose take off point

IMG_1285

All parts from SC

IMG_1284

All parts from SC 2

Another item i found was from RetroSport. I had originally planned to blank the dizzy port in the block with a alloy insert and use the original A+ dizzy clamp to lock the insert down to the block. After picking up a dizzy clamp in the auto jumble I stumbled across a blanking plate that looked so much nicer than what i was going to use. At £12 it wasn’t cheap but i have realised now that if you want it to look right you have to spend the money to get it so below shows the RetroSport item and to the right the setup i was going to use. No brainer really??????

IMG_1301

RetroSport insert against clamp type

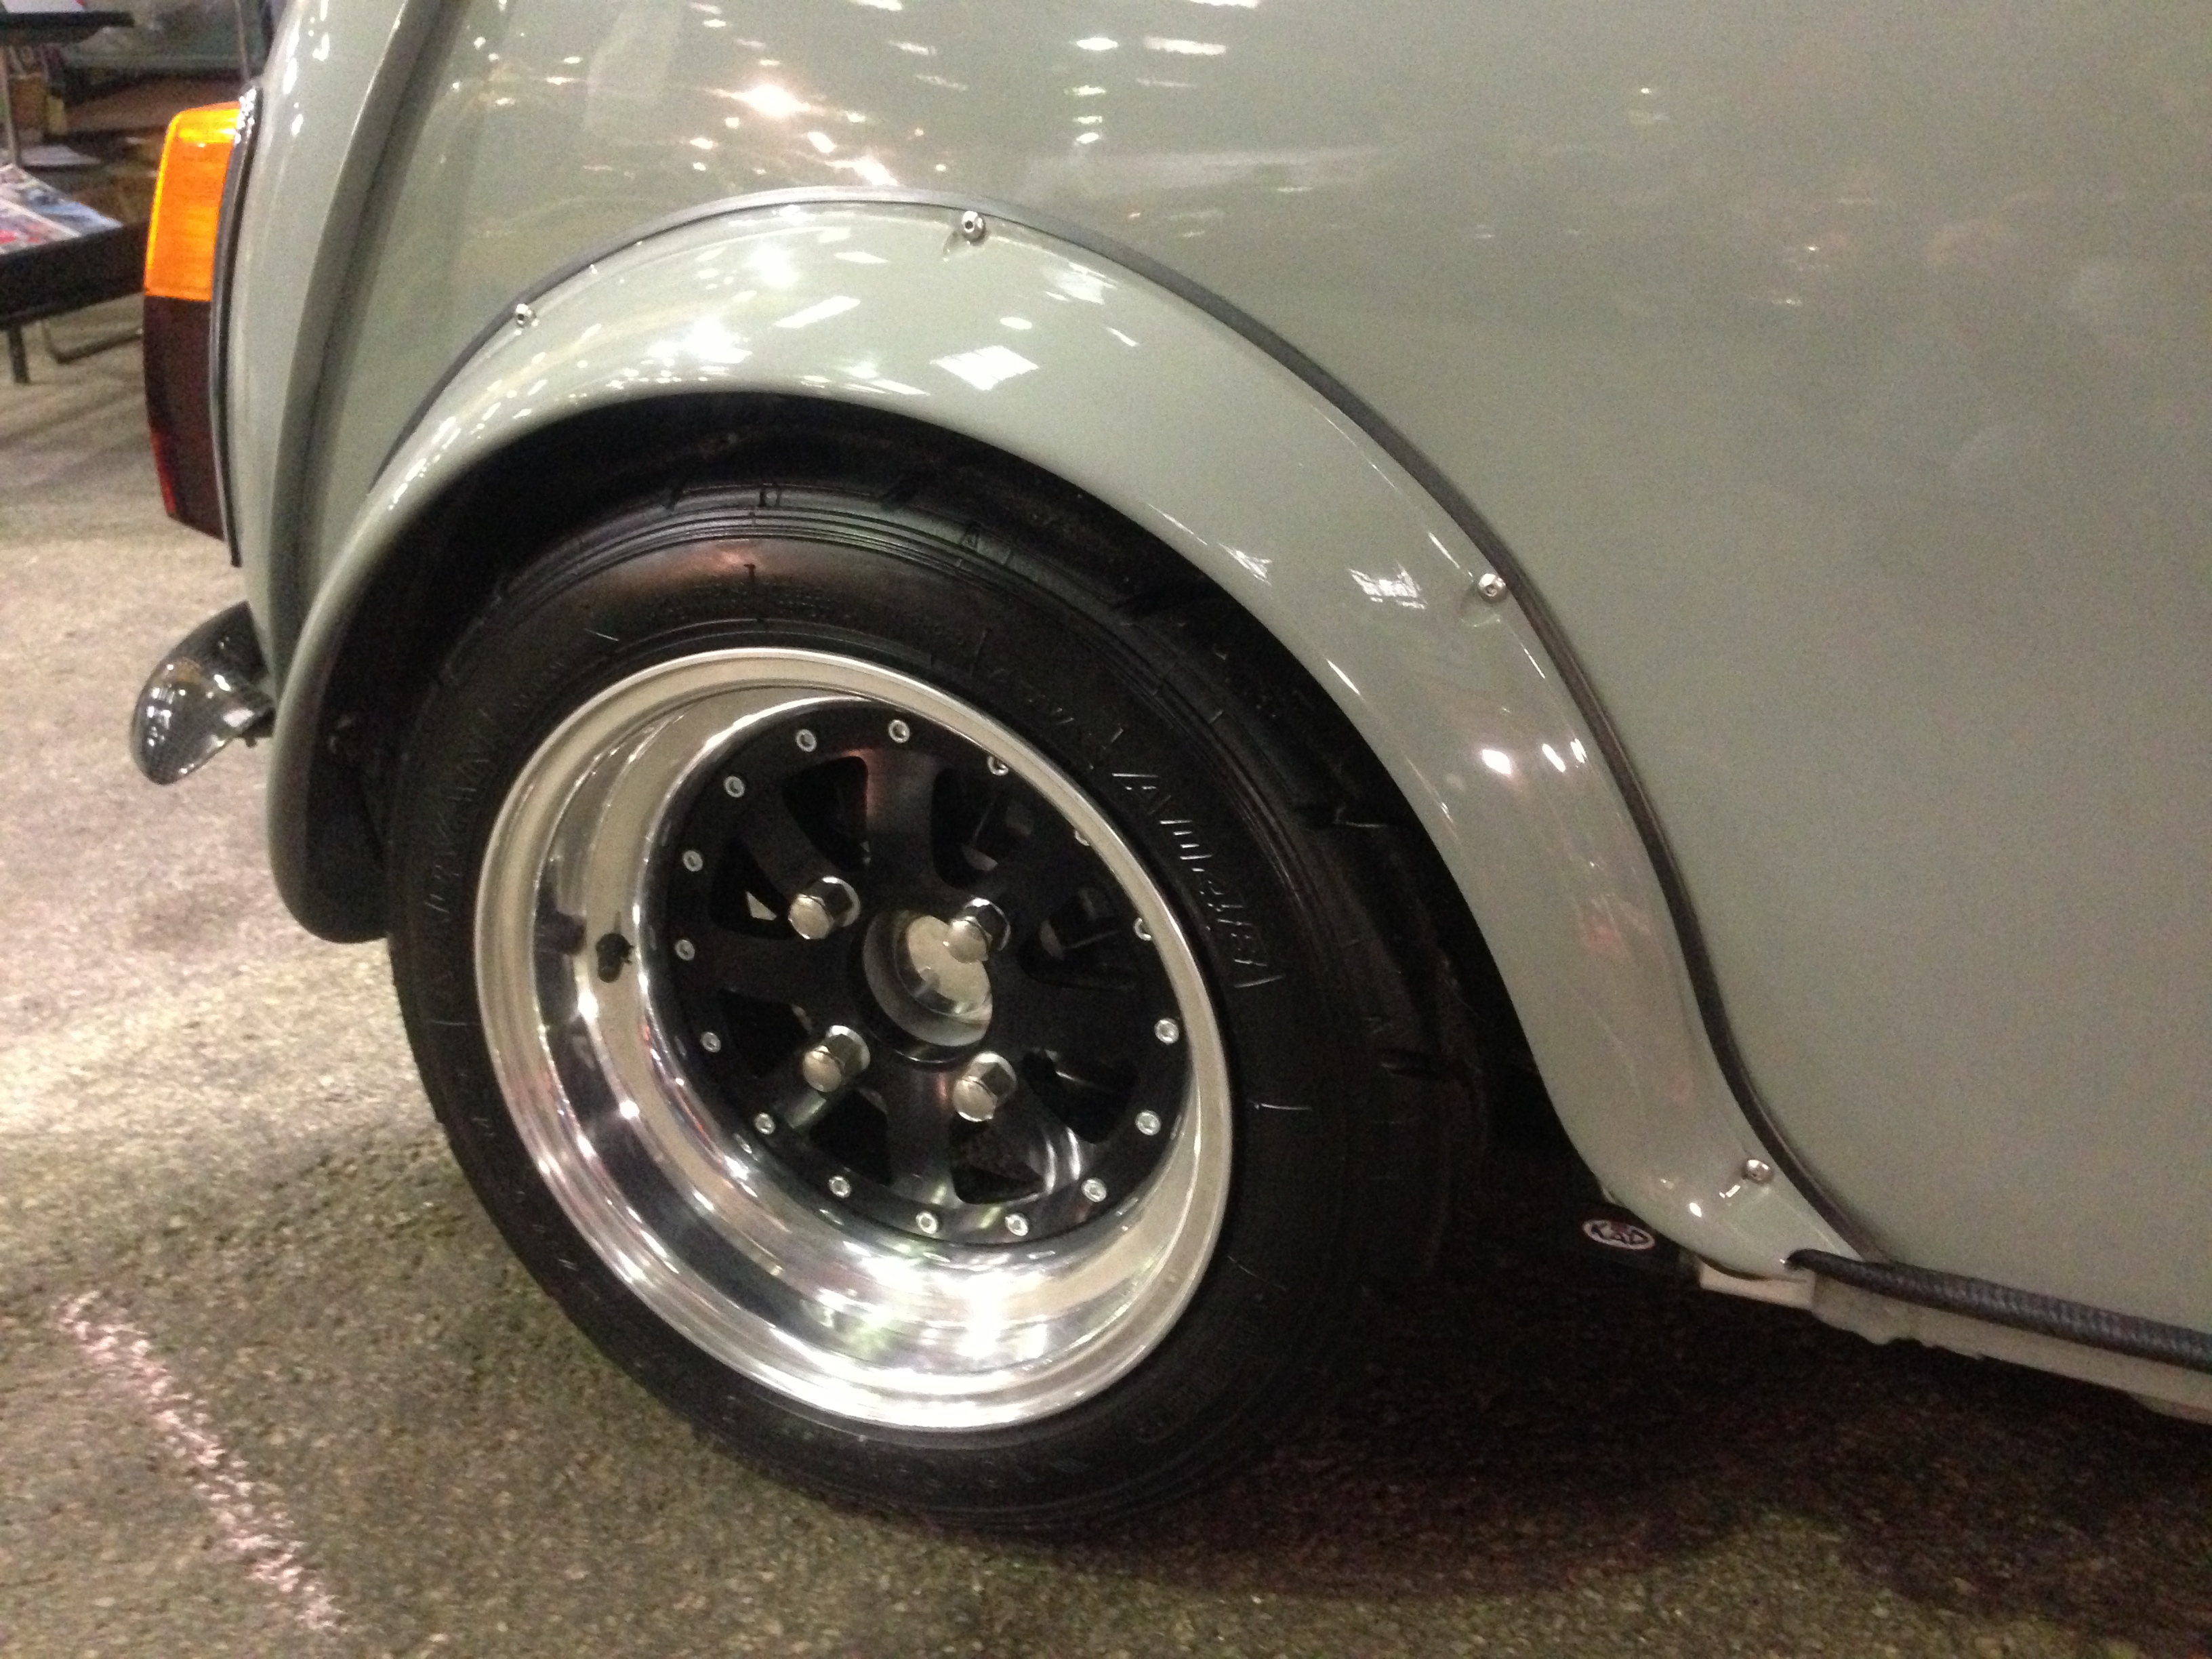
I dont take a lot of pictures these days at mini shows as some cars that people produce and seem to like to show off don’t press any buttons of mine. But who ever built this tweed grey retro racer needs a big pat on the back. I would love to of found out who built it and chatted to them about how they had done a few things. The editor of Mini magazine has been informed of this blog so Jeff (if you’re reading this) pass on my regards to the owner. Absolute stunning car, best car i have seen in a few years an in my favourite 60’s colour.

It looks pretty standard to most but as i looked around it you noticed small changes that the owner had made to improve that 60’s look with a modern twist. I loved the detail that the owner had gone to just to fit the bonnet straps. Instead of going over the top of the MK3 chrome bonnet strip, they had reduced the width on the chrome bonnet edge and gone between the hockey stick and the now shorter bonnet strip. I wish i had got a picture of this now as i have never seen this done before but it looked so much neater than “the over the top” method. The front indicator lenses had been changed to clear flat types and various other small changes have been done to produce something that i would love to own. Carbon bumpers and the interior!!!!…. enough said.

The only small floor i could find was someone had tightened its door window lower chrome strip mounting bolts too tight and caused the chrome to deform. Picky i know but other than this perfect!!!

IMG_1277

IMG_1275

IMG_1276