New year update.

Posted: January 12, 2015 in Uncategorized

Well its been a long gap again in updating this but ill cut to the chase the engine was fitted towards the latter part of last year and it runs…. It needs to be tuned on a rolling road and I’m hoping to get the car running for the summer now.

Ill now try and update all of the info leading up to the engines first start…..


Ad


Advertisement

Right where were we…… Ecu….

Posted: September 30, 2014 in Uncategorized

After a lengthy time away from this i thought i’d better pull my finger out and get this updated.

At my last entry i was preparing to build the gearbox using the components that were sourced from MED. This went together rather well and after a little time taken to ensure all clearances and floats were correct the item was completed and rebuilt ready to mate with the engine.

Around this time i purchased the specialist components ECU kit, alternator and manifolds.

photo-8

photo 3-1 photo 2-1 photo 1-1

The manifold is the stainless steel Specialist components road spec manifold. This has a lambda sensor port TIG welded into the Y piece exhaust.

The final picture shows the differances between the K100 8v coolant sensor housing (top) and the k1100 16v coolant temp sensor housing. The top one is the one i will be using for my engine as it is the 8v design.

Questions.

Posted: April 29, 2014 in Uncategorized

Hi.

ive recently had a couple of contact me forms filled in with a couple of questions people wanted answering. I have tried to reply to all of them within 48 hours. If you are still awaiting some feedback this is because the email addresses provided could have been incorrect and the inbox is not recognised. Please fill in another contact me form confirming your email address and I’ll forward my reply to your questions.


Cheers guys.


Ad

Gears, shafts and diff…

Posted: November 30, 2013 in Uncategorized

Well after trying to get everything together so i can build the gearbox i built it up and got the shafts/selectors in last night. I still need to check bearing support shimming / end floats and fit the diff unit into the case.

Here we have the A+ MED Clubman SCCR gear set assembled using the original 1st gear (both gear and 1st /2nd syncro renewed) and reverse idler. Quality bearings were used and MED heavy duty bulk rings. A centre oil pick up pipe is being used to remove the oil starvation risk when cornering hard. I also noticed damage to the layshaft so this was upgraded to a better quality new item and bearings renewed. After speaking with MED and discussing the cars use they advised that it would be beneficial to increase my F/D ratio to ease 1st gear pull off and thus reduce the chances of needing to slip the clutch to pull away. I have moved away from the original 3.44:1 and I will now be using a 3.76:1 (17P/64CW) item. By doing this i will reduce top end speed but slightly increase acceleration rate. Calculated figures have come out around 104mph at 6800rpm, plenty for a weekend messing about toy. The diff unit is a MED x-pin unit built up with new A+ thrusts and fibre washers and will be fitted with new RHP diff bearings.

A couple of pictures below more will follow when its finished up.

Ad


MED SCCR A+ gearset


X-PIN 3.7:1 FD

Breather / oil filler and drops.

Posted: October 20, 2013 in Uncategorized

Well the build is still a work in progress but when i get a spare 15 minutes i seem to be ticking smaller jobs off the list. I picked up an old transfer case breather from MITP at Santa pod a couple of months back. I also sacrificed an old tatty rocker cover i had gathering dust and made up an engine oil filler point. SC do manufacturer these but are based on a slightly different design of transfer case breather. Hopefully i wont have any issues with this and the upper engine steady bar fouling.

Image

On other updates. I have decided to go the whole hog with the gearbox. The mention of straight cut gear noise will only add noise to an already noisy car. Ear plugs at the ready on longer journeys…. I have purchased a set of MED 1275A+ 1:1 straight cut drop gears with the roller idler gear. To be honest a bargain at the price they came in at with very little use. So these will be here next week and then i can pull more gearbox parts together and get that rebuilt.

Ill add a picture up of the drops when they arrive.

EDIT:

Drop gears

MED Roller SC Drops

MED Roller SC Drops

Ad

So again due to lack of time at present the engine project has been on the back burner for another month. But on friday i opened up the parts that had been returned from Chris and got the build underway. I picked up new big end, mains and thrust bearings from Mini spares centre Midlands on Friday afternoon and got the crank and mains in and torqued down on friday night.

This morning i started early’ish and managed to get the rods and pistons in. Time was taken with this and it all went smoothly should i say myself.

I have mocked up the basic engine to get some more pictures to show viewers following this. I tried to pick up a water pump today but couldn’t find anywhere local with one in stock. Ill grab one of these next week now from Mini spares and then carry out the modifications to the top edge and alloy web removal.

I did come across a couple of niggles, i still need to modify the original camshaft to allow oil flow to the cams. I spoke to John at SC in the week regarding this and he was helpful and sent me over a picture showing how SC tackle the modification. Ill add a picture of this on maybe the next post. Also one of the bottom plate mounting holes to the man journal cap drilling is slightly off with my block so this will need a modification to address the issue. The head studs all have to be cut down in the 8v head configuration so an estimated 10mm will need to be taken off these for clearance purposes.

So theres plenty of work left to get through but the projects coming together nicely now…. finally.

Click on thumbnails for full size pics.

Cheers

Ad

Crank_1

IMG_1611

IMG_1613

IMG_1615

IMG_1617

IMG_1619

IMG_1625

IMG_1627

IMG_1631

Balancing in progress

Posted: June 25, 2013 in Uncategorized

Right, Its been far too long and that complete date is getting further and further in the past its laughable….

Chris over at Toovey race engines presently has the flywheel assembly, crank, crank pulley, rods, and pistons. The pistons will be weight-matched firstly then mounted to the rods and end over balanced. ARP bolts will be fitted to the rods at this point also. The crank and complete rotating assembly is currently being dynamically balanced and hopefully will be back next week.

All being well that means that the build can start next week.

Anyone got any comments on assembly lubricant that is suitable to use with classic A series components?

The block has gone through its real final clean up and now is in as good of a state that its going to get. Every component will have a final check over and clean prior to assembly to confirm i don’t get any avoidable contaminants in places there shouldn’t be.

I did actually perform a dry build of the head, SC front plate, cam adapters and cam pulley’s. I did have a slight binding issue on one of the cam adapters to one of the gears. This was addressed and now both fit perfectly and have been boxed up ready for the build up.

More to come ASAP


Ad

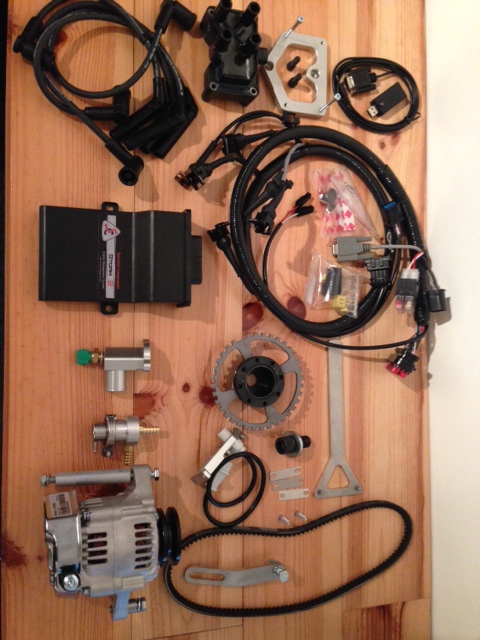
So over the last few weeks i have been gathering more parts to get this engine building underway. I have purchased a MED stage 2 billet flywheel and  clutch assembly to be fitted up to the engine. As the parts kept being snapped up i stumbled over a set of minisport 4 pots and a set of Gaz front coil overs. As the car is running rear coil overs i thought the advertised offer was too good to miss so these new items were purchased to get the car running a full coil over conversion. The 4 pot brakes hopefully will assist in the stopping power of the car. With the uprated power of the new engine it does make sense to me to upgrade the braking system at the same time.

I also received the head back from Toovey. All work on this is completed now even down to drilling and tapping the oil return inserts to 3/8BSP thread so i can fit the oil drain lines from the head to the SC manifold unit fitted in the place of the mechanic fuel pump. The work is very, very good even without asking all valves were cleaned up, the seats and valves were lapped and all of the valves numbered to cylinders to keep their correct locations. I was under the impression that i would be lapping the valves on its return.

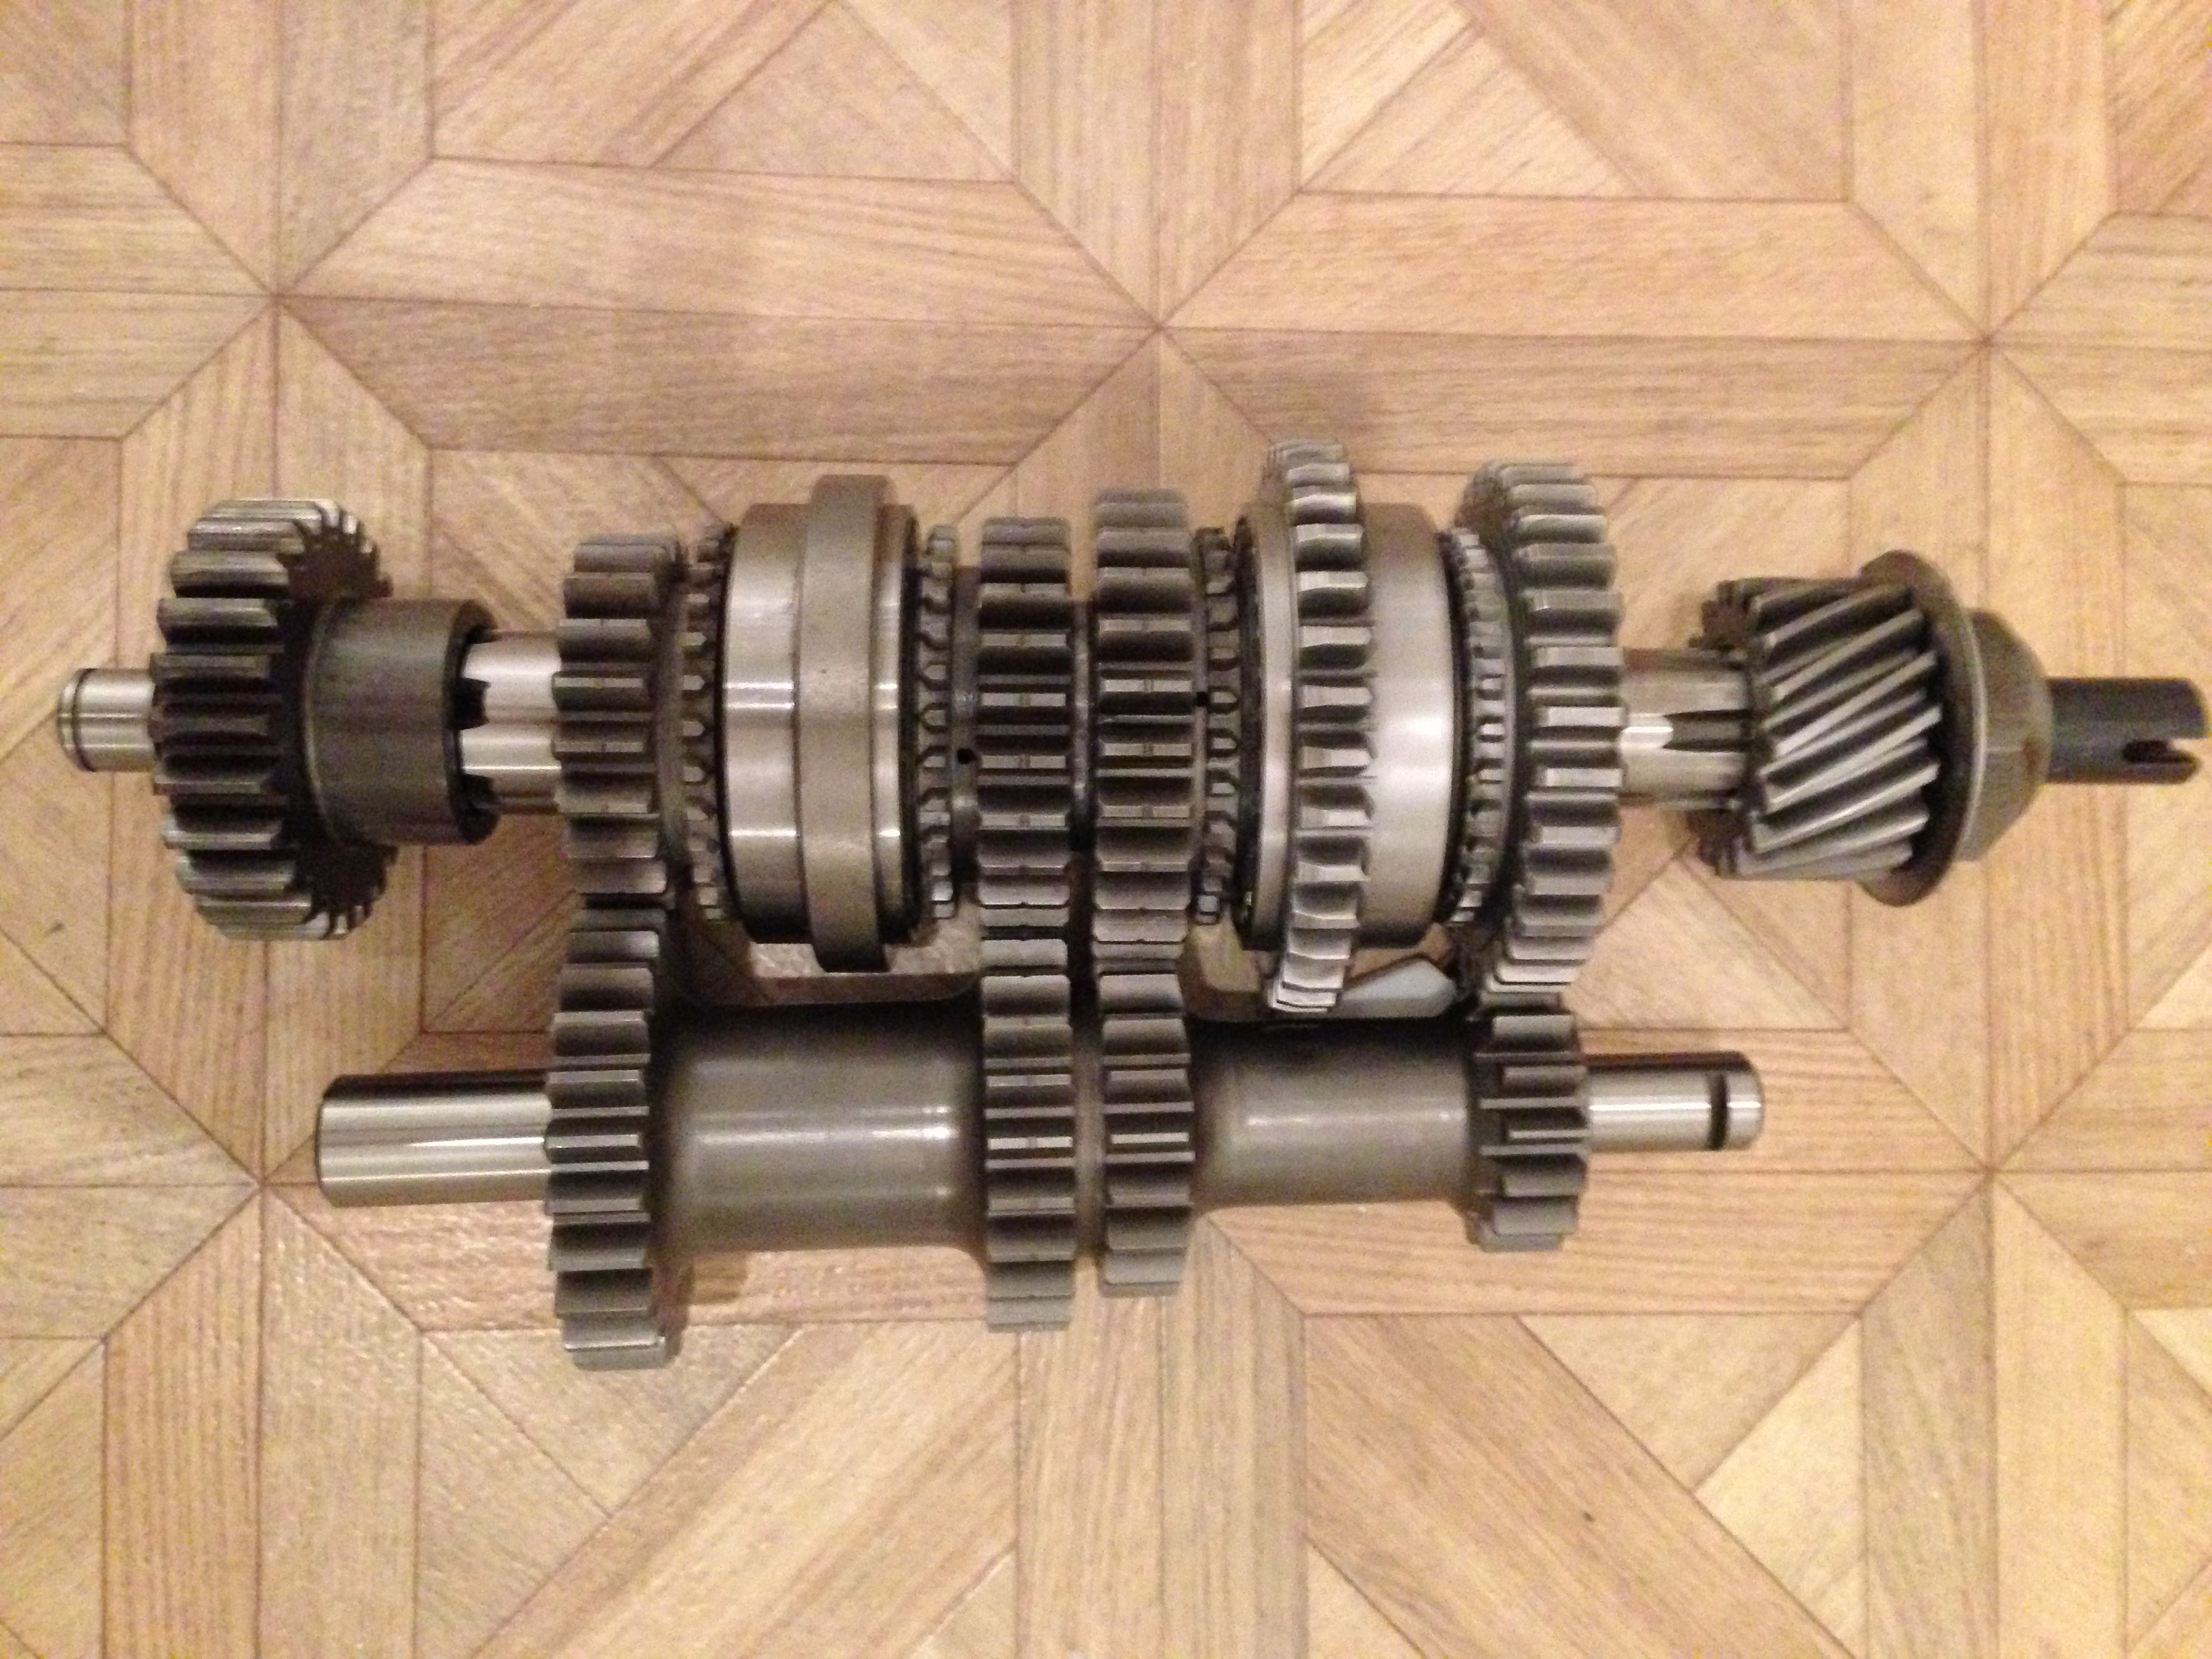
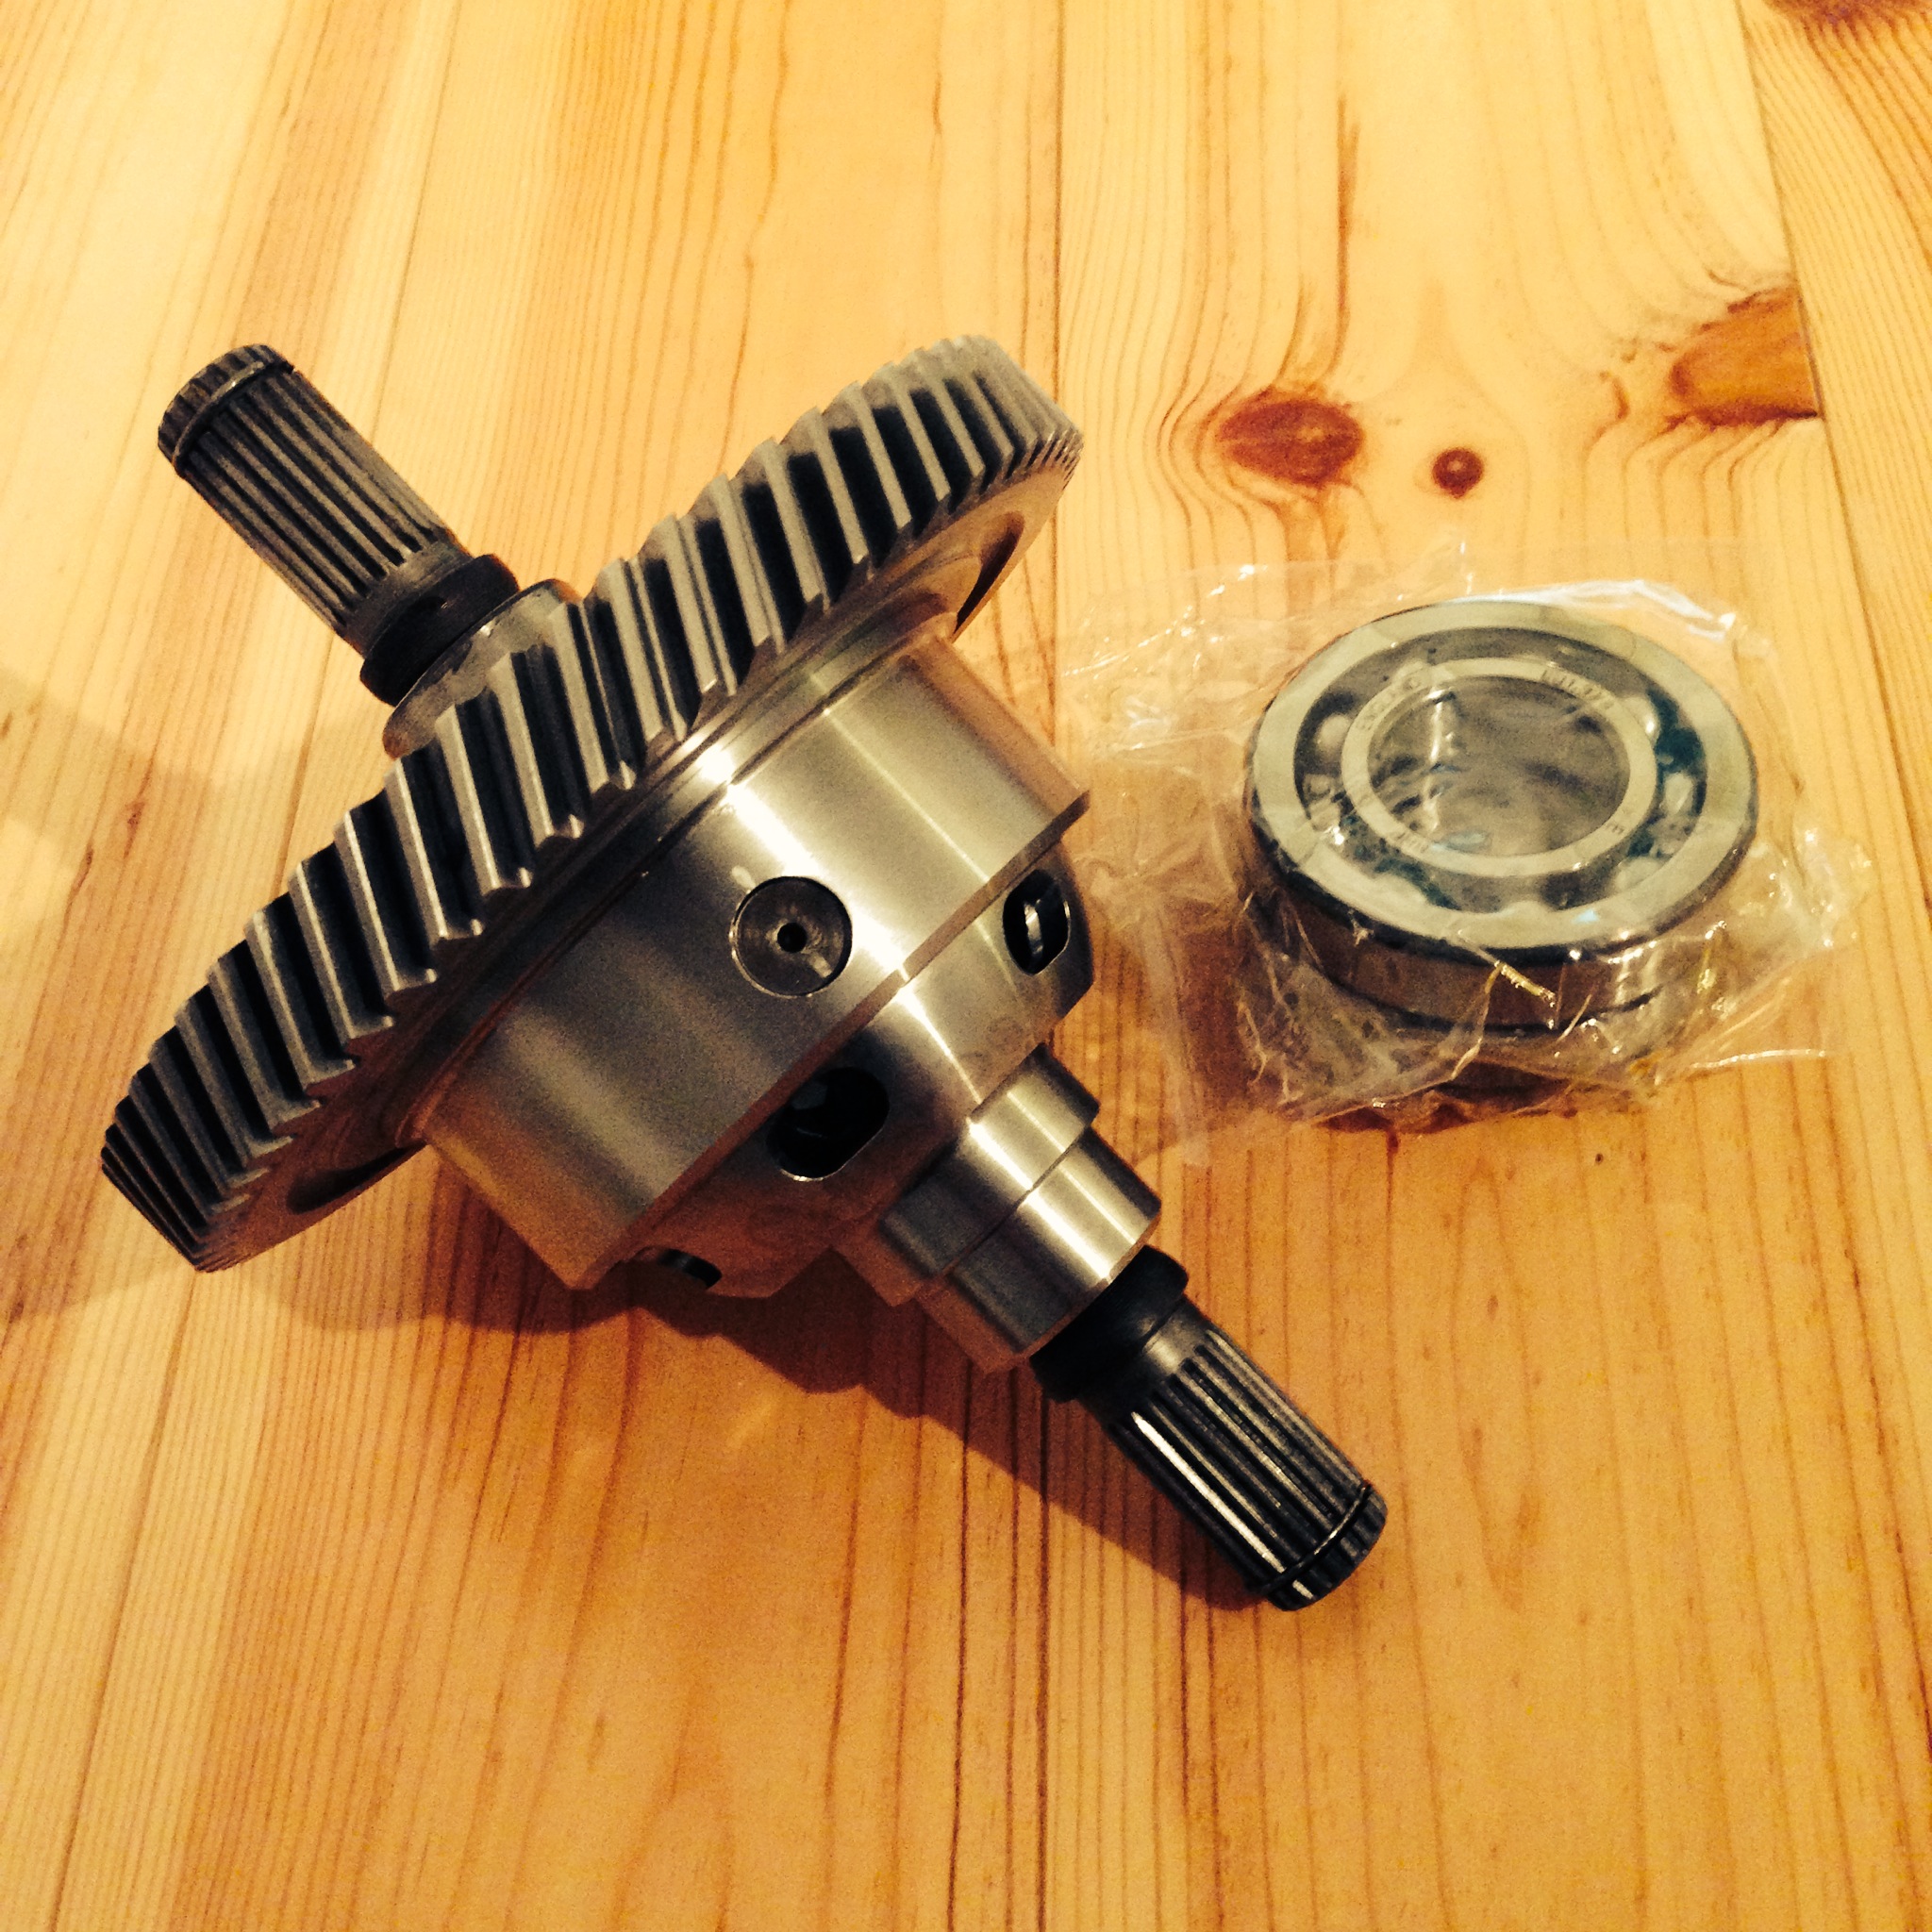
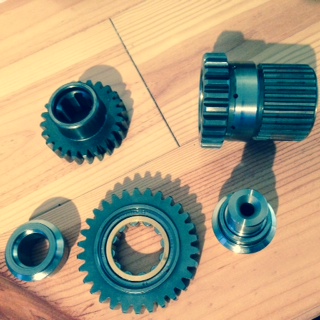
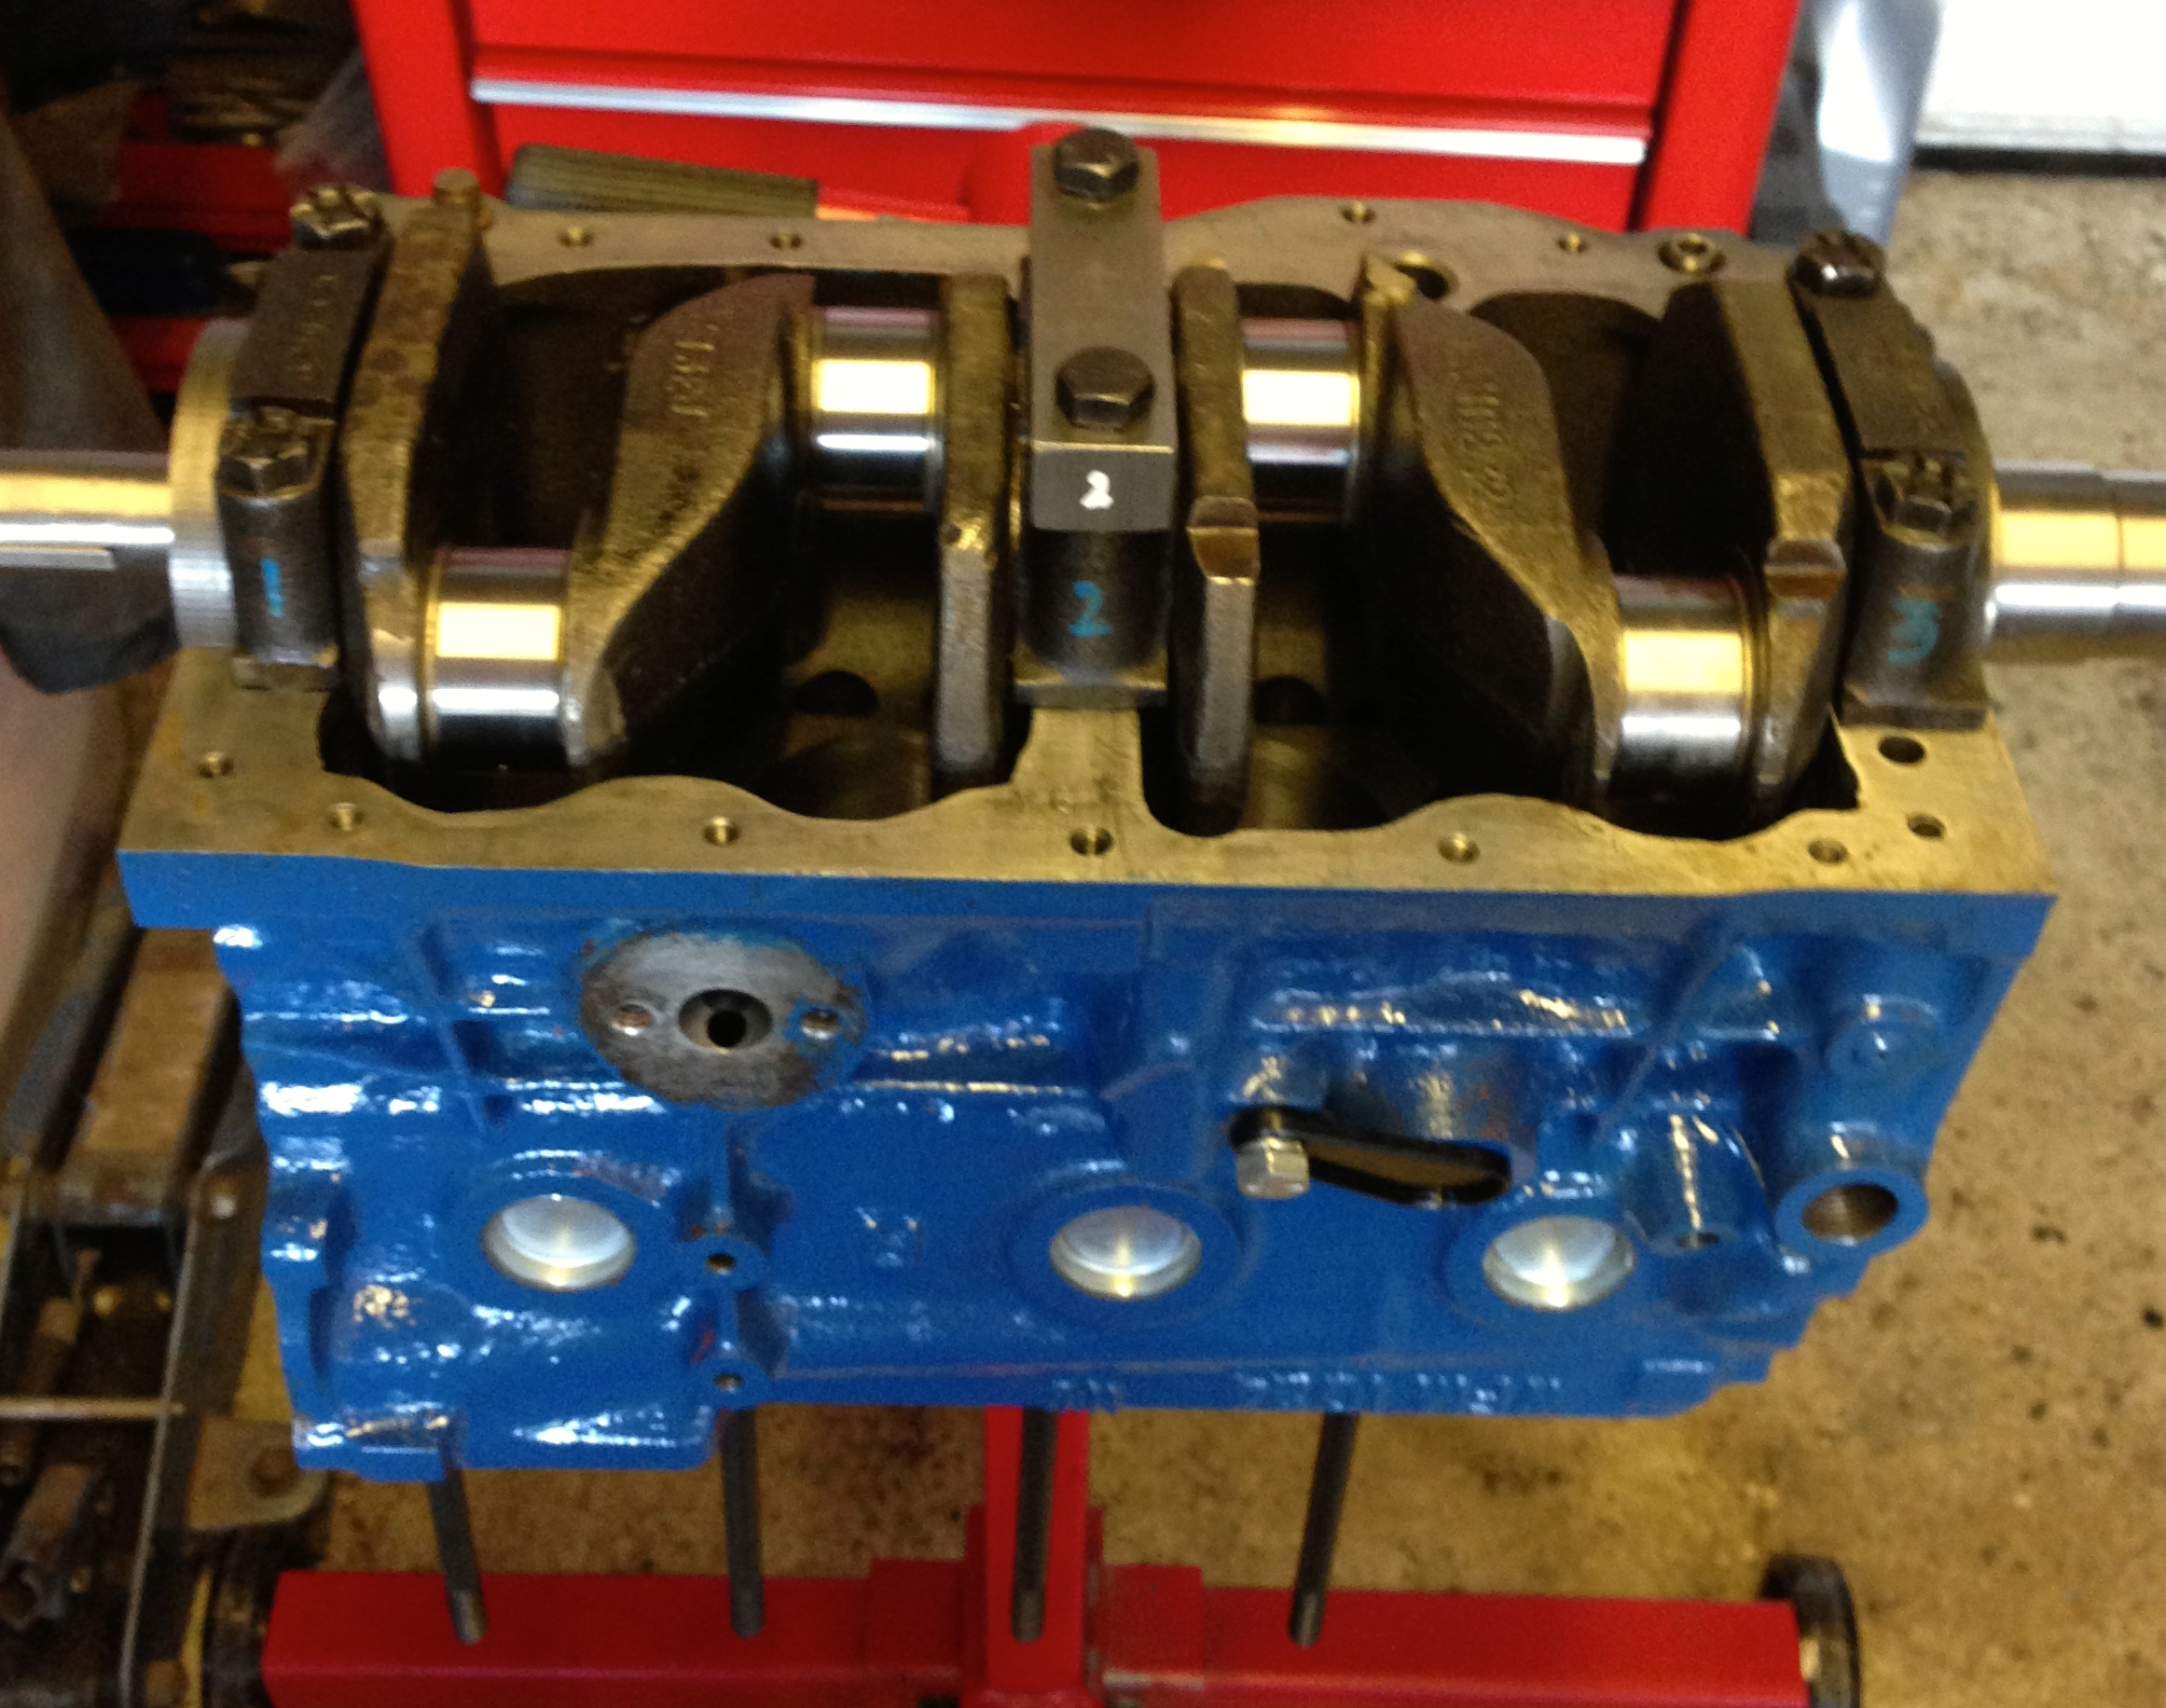
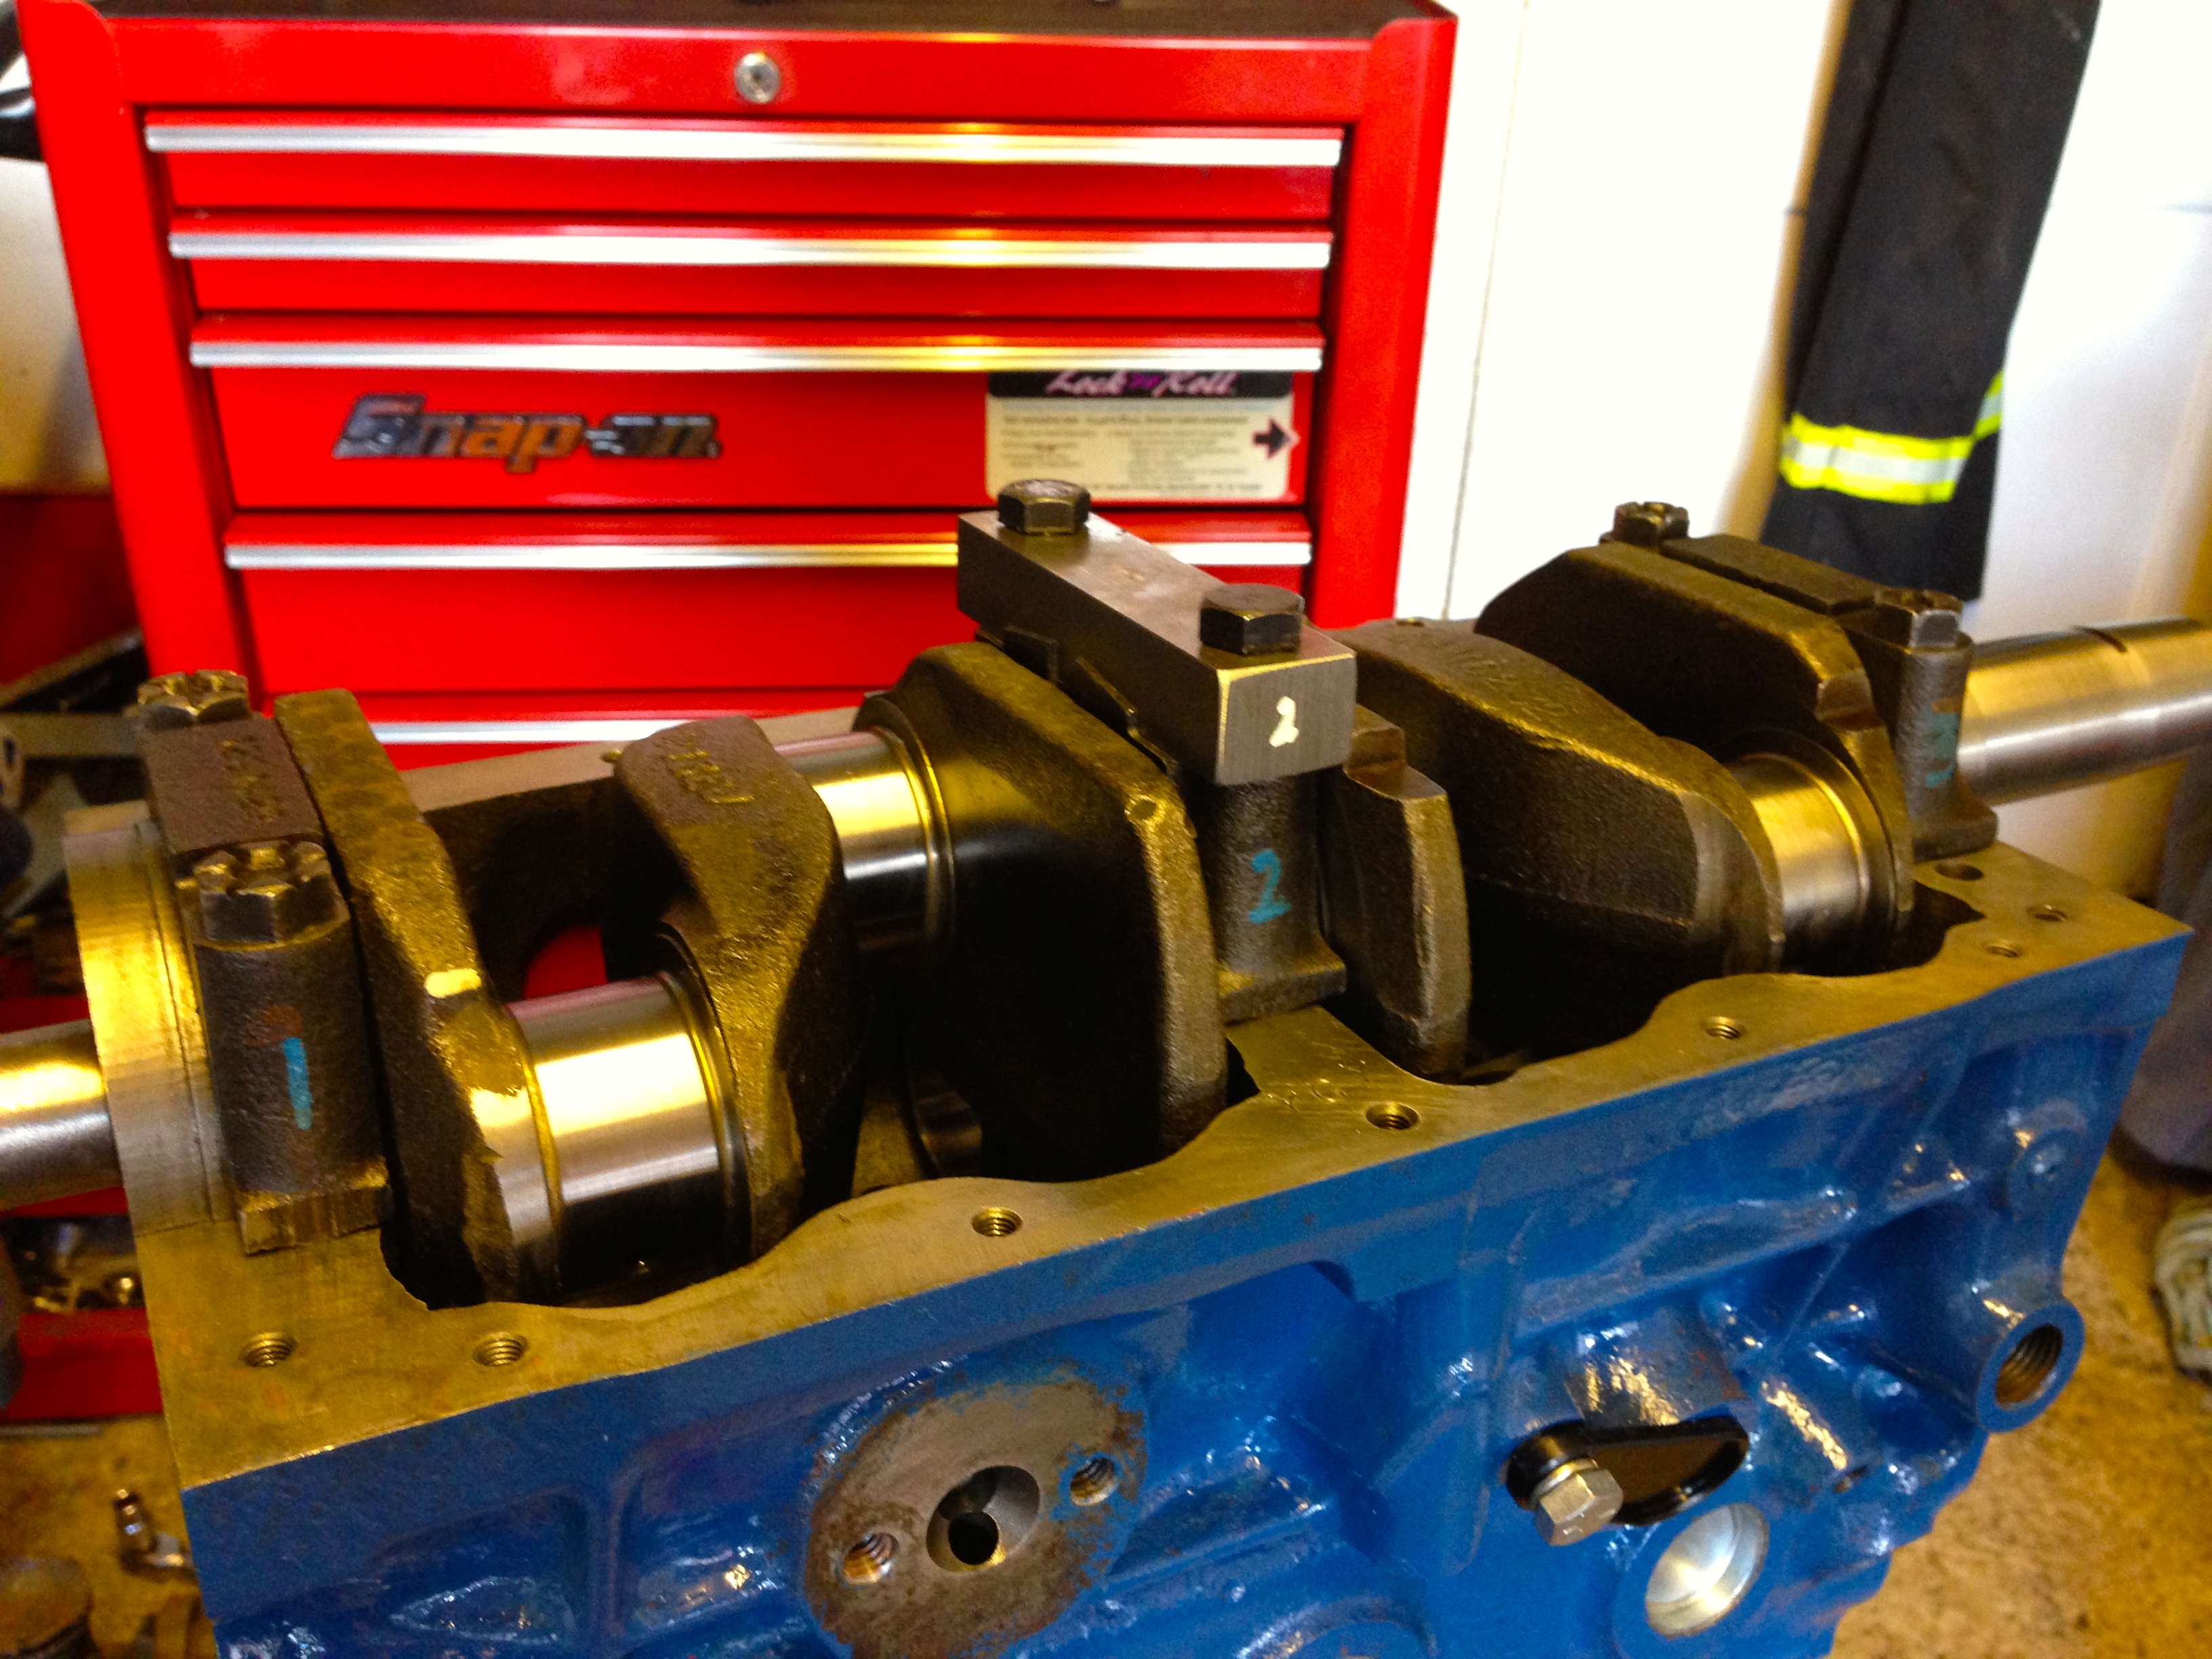
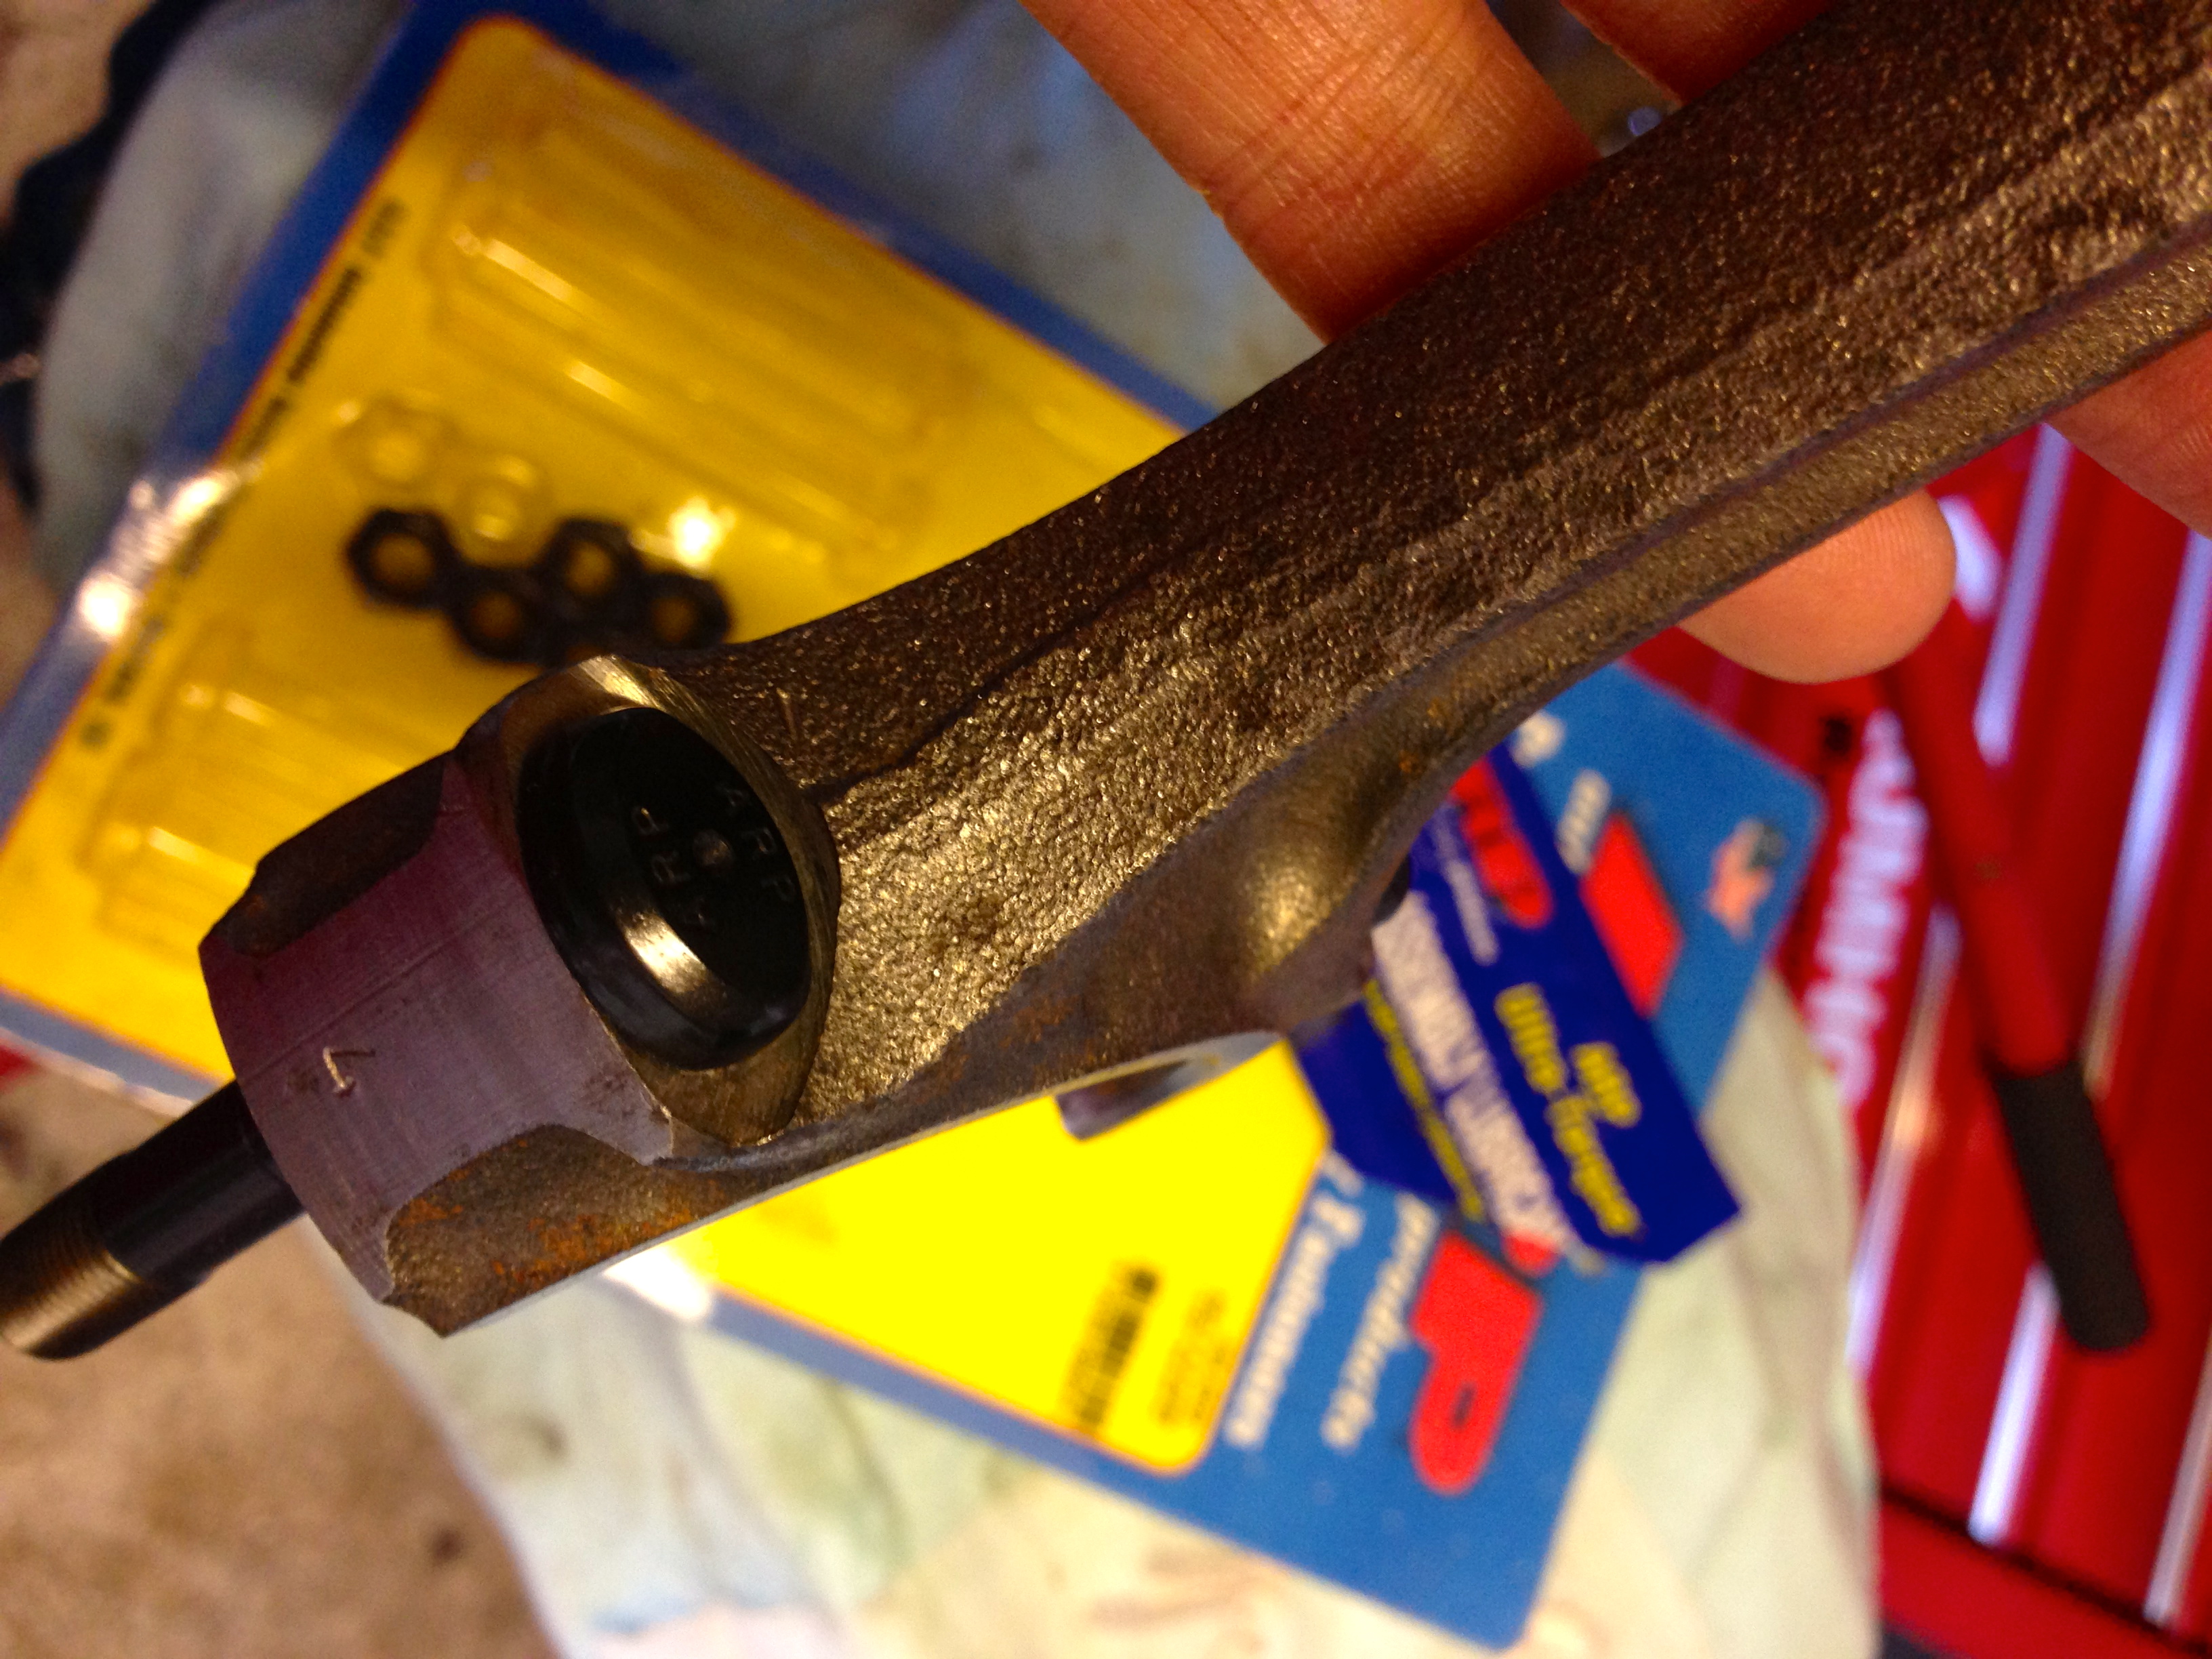
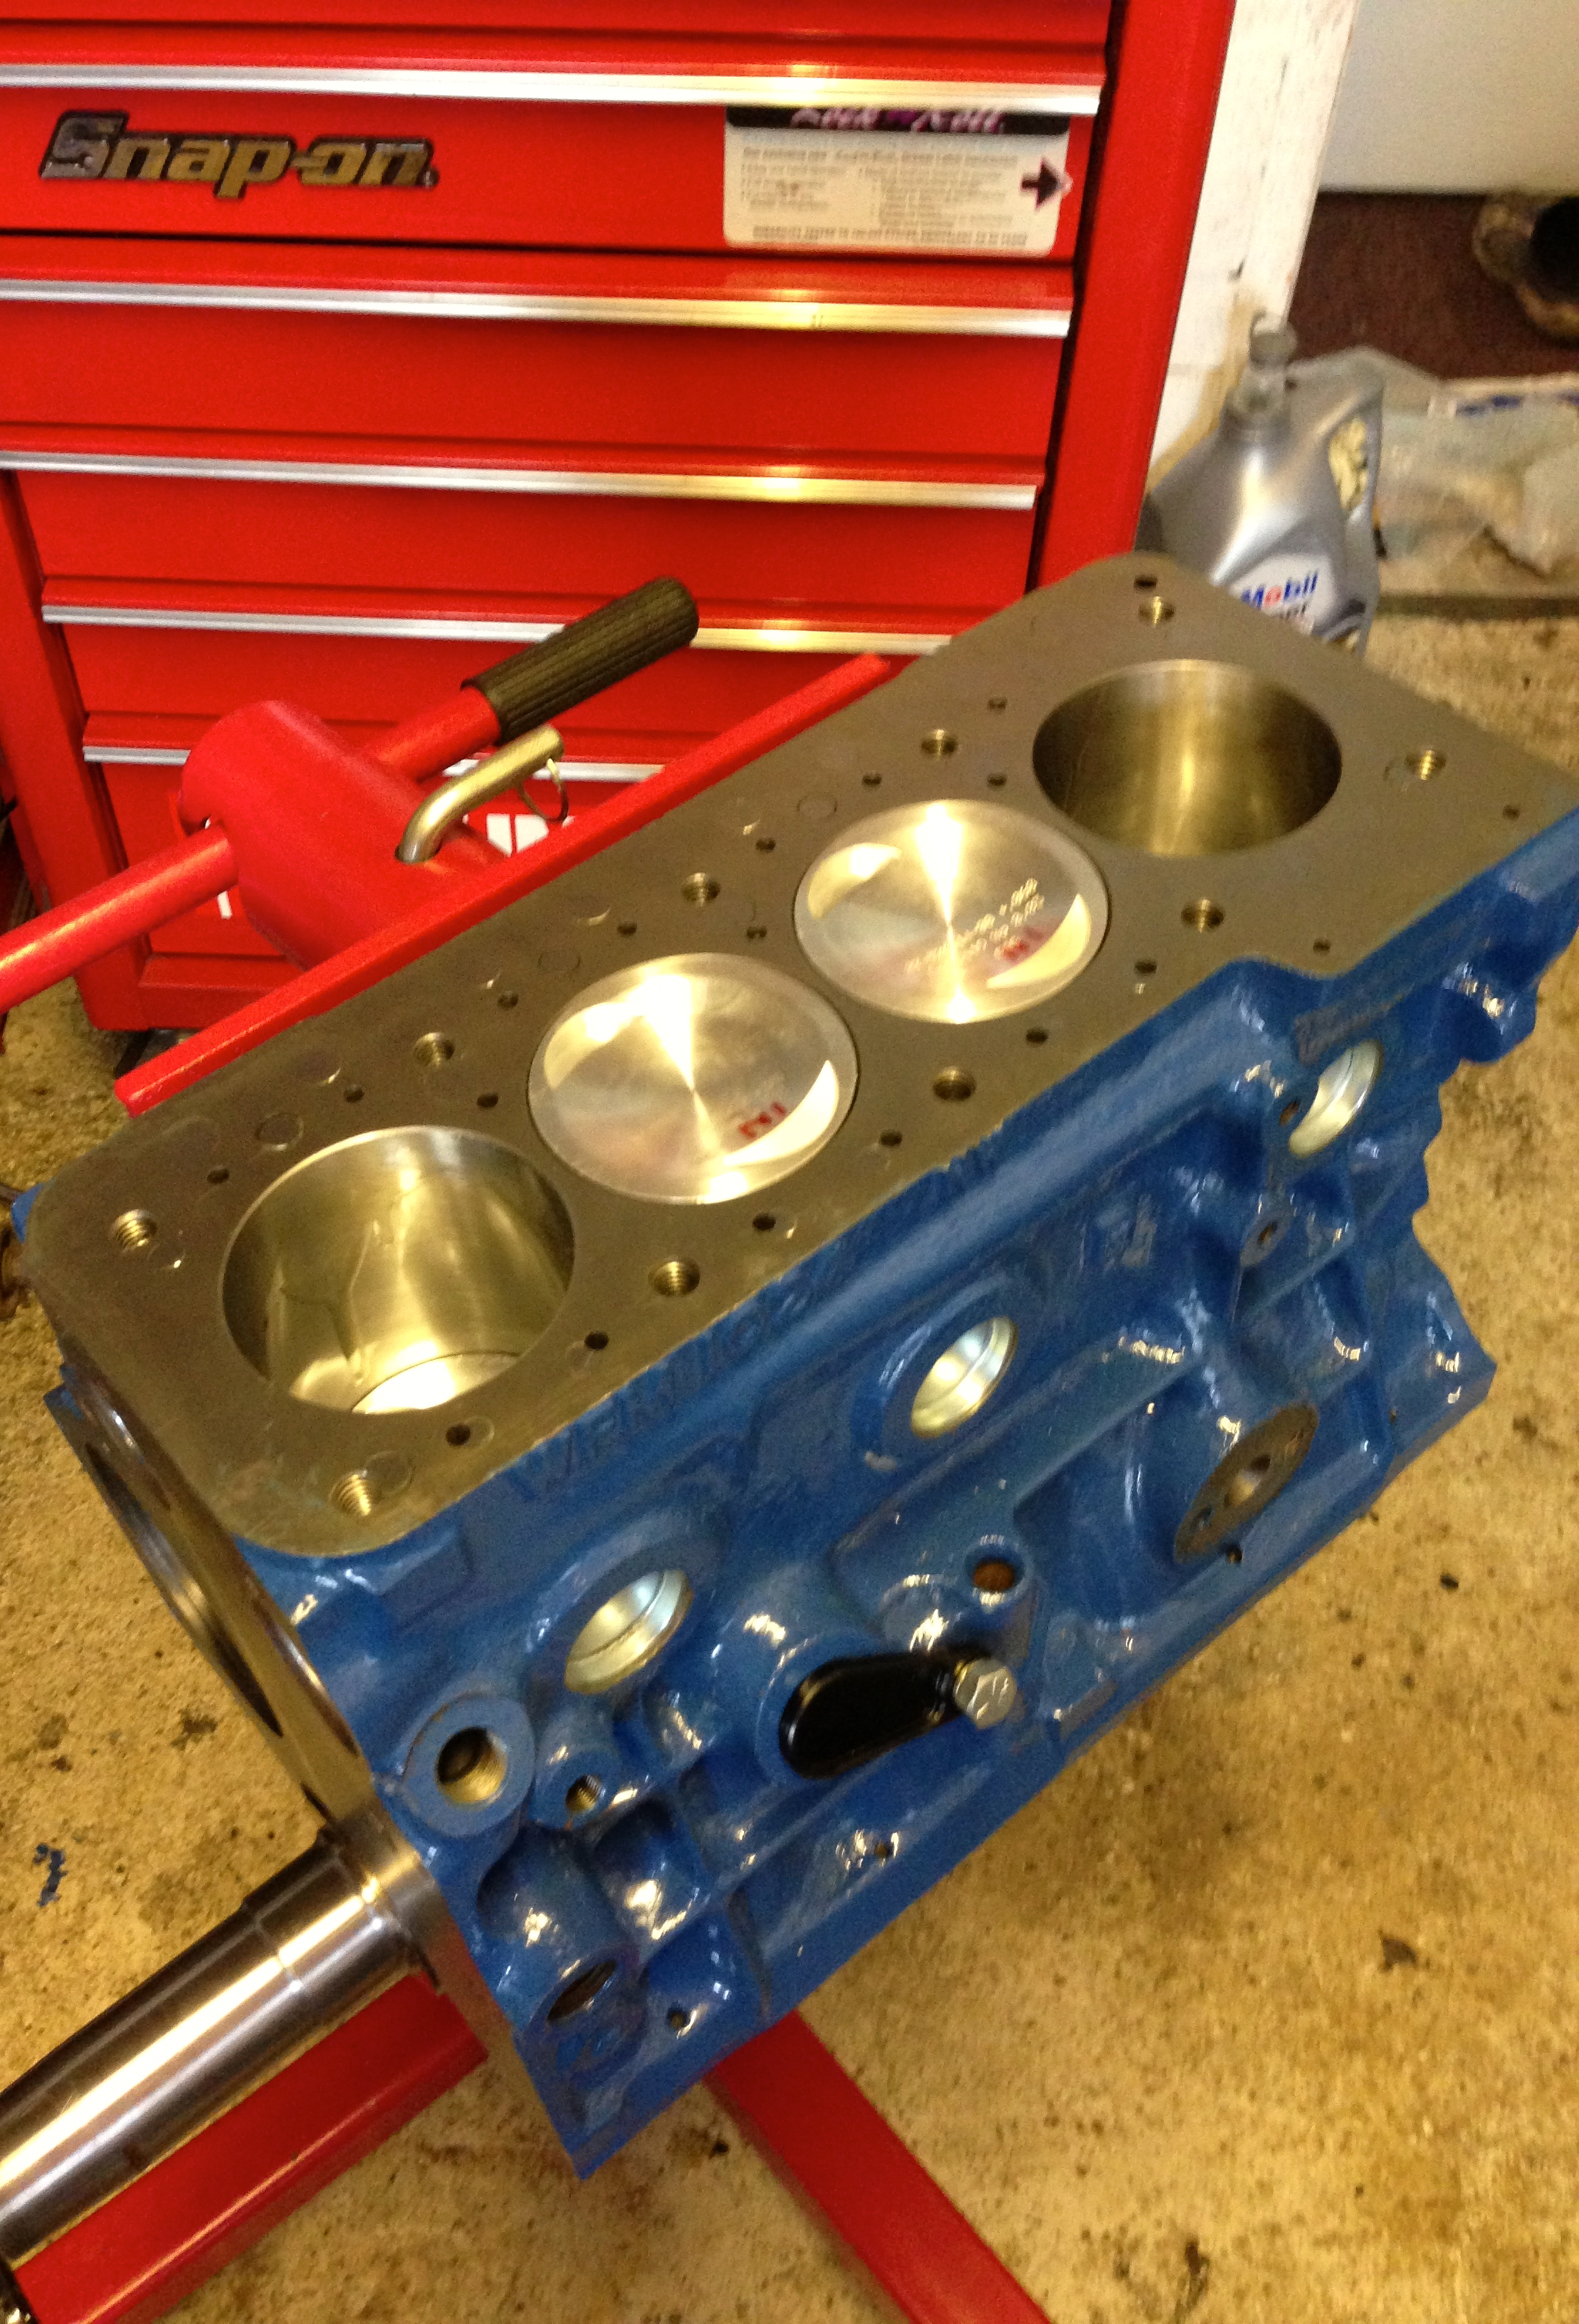
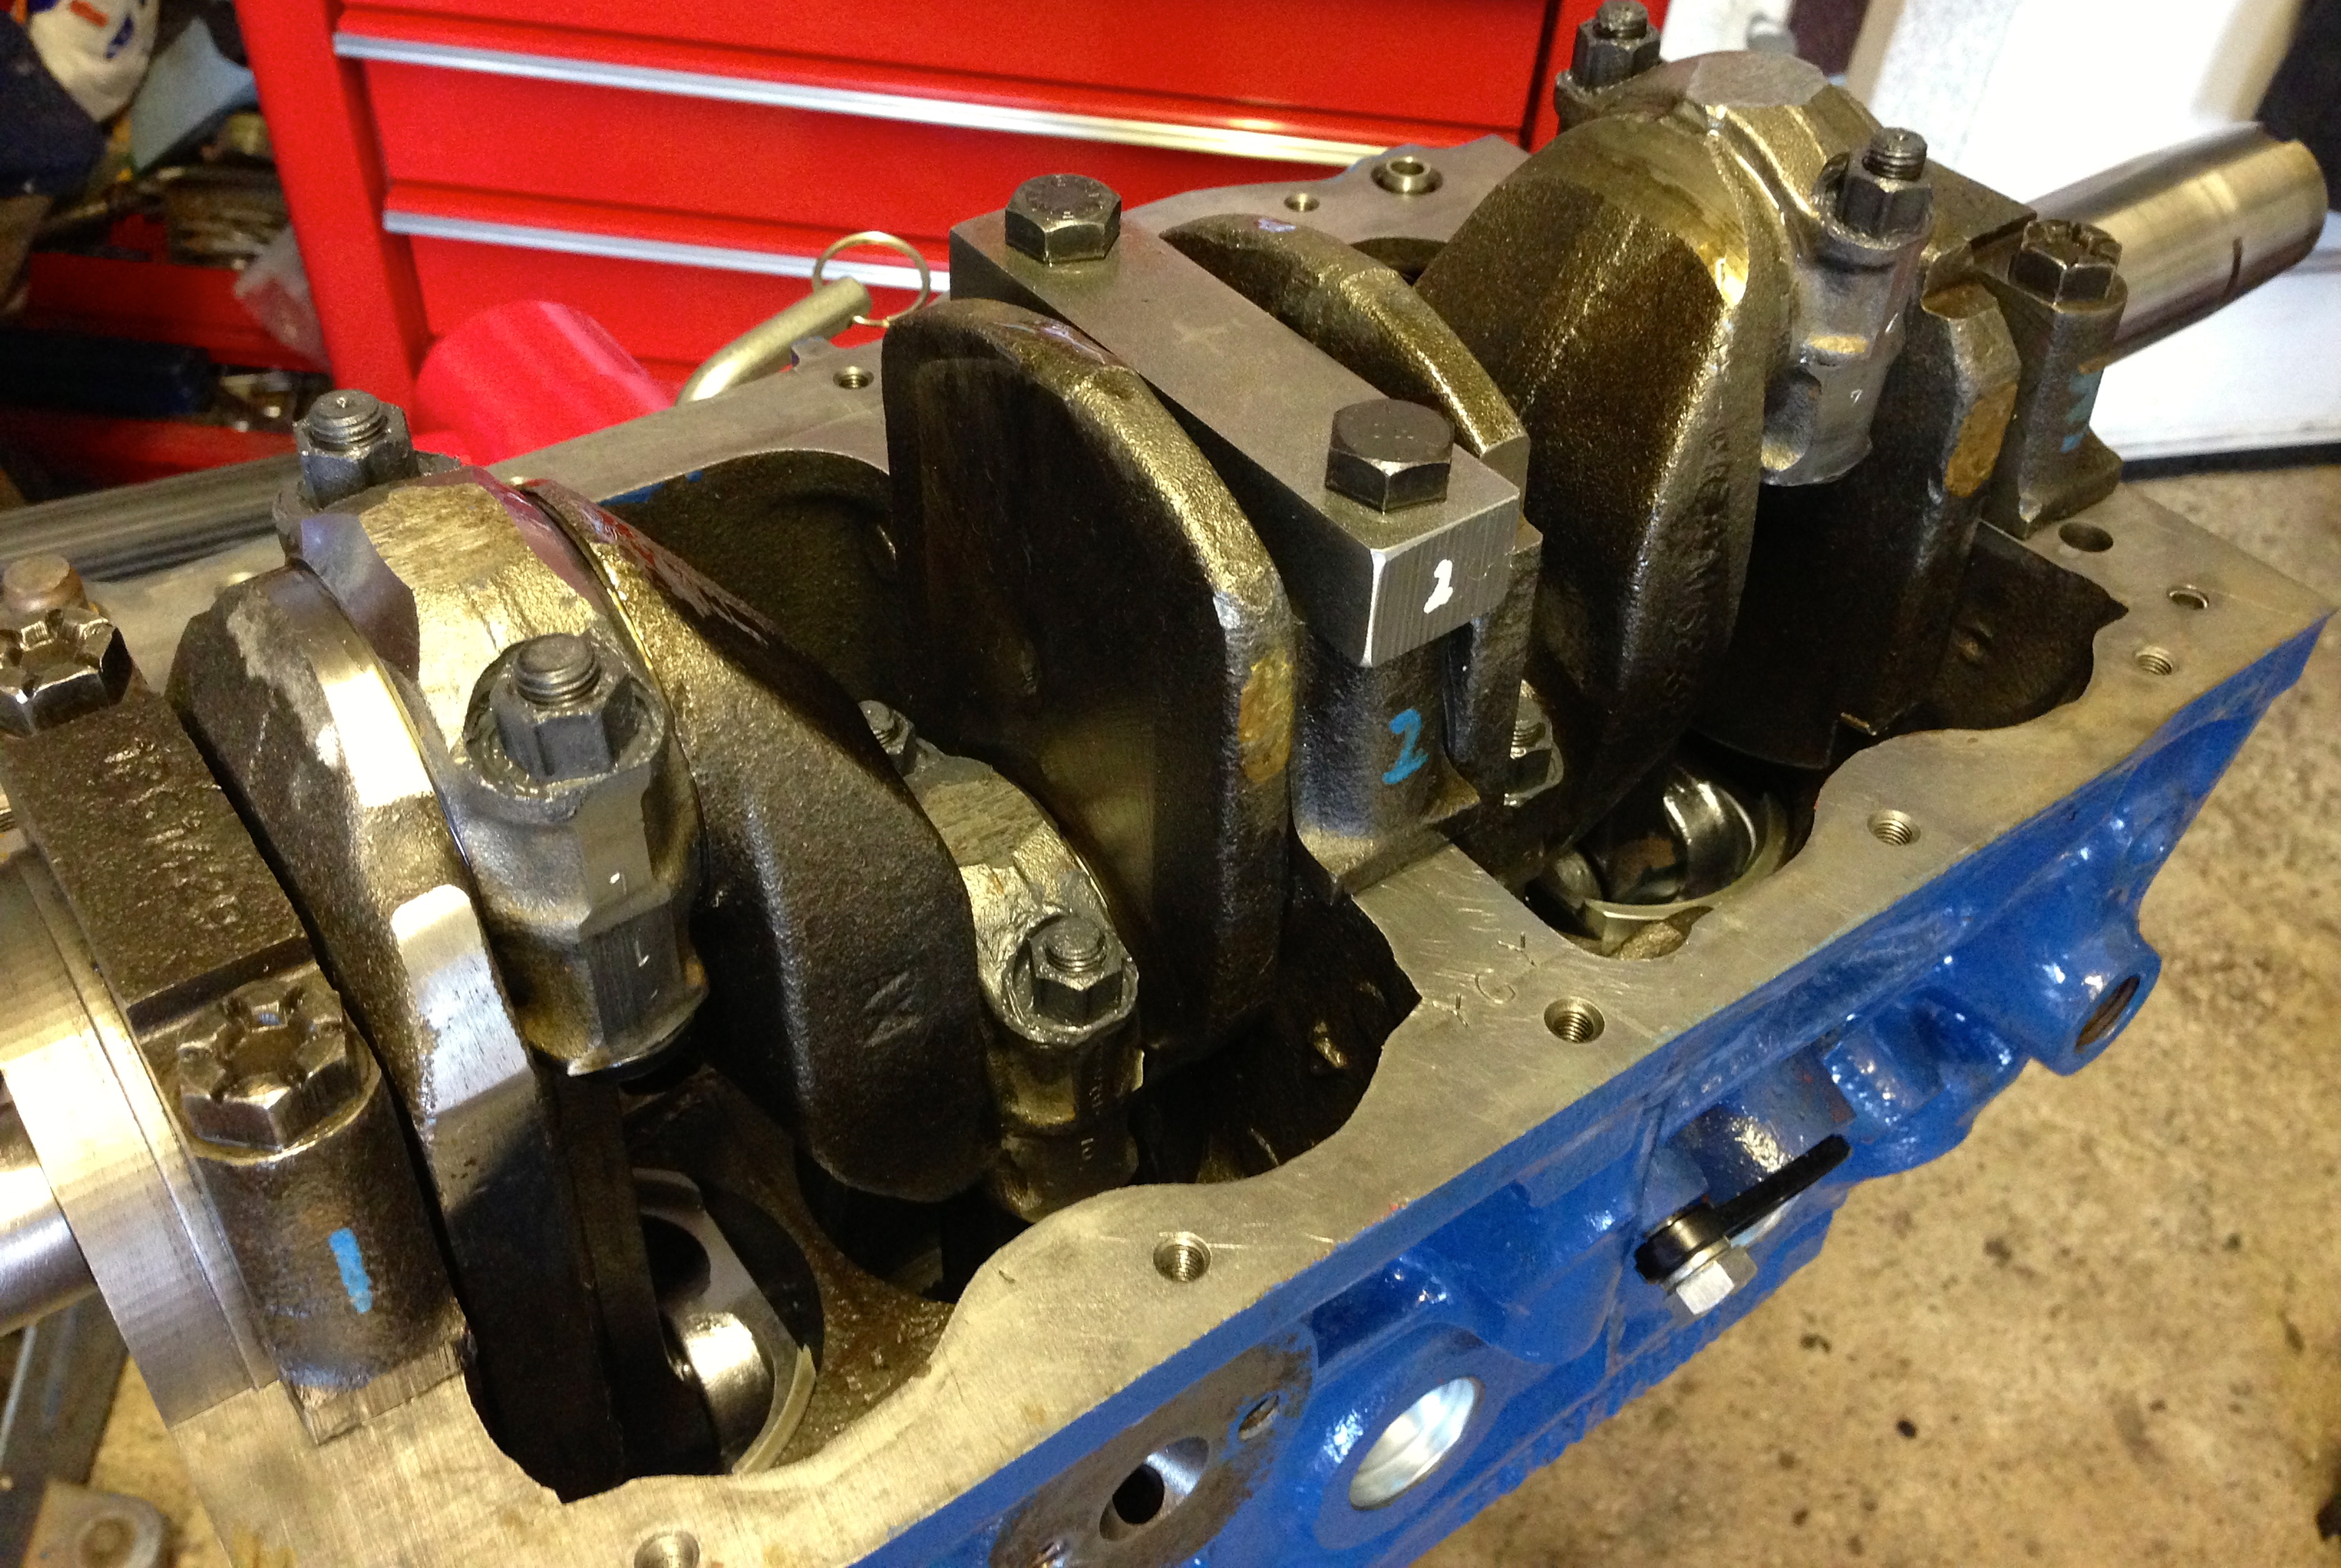
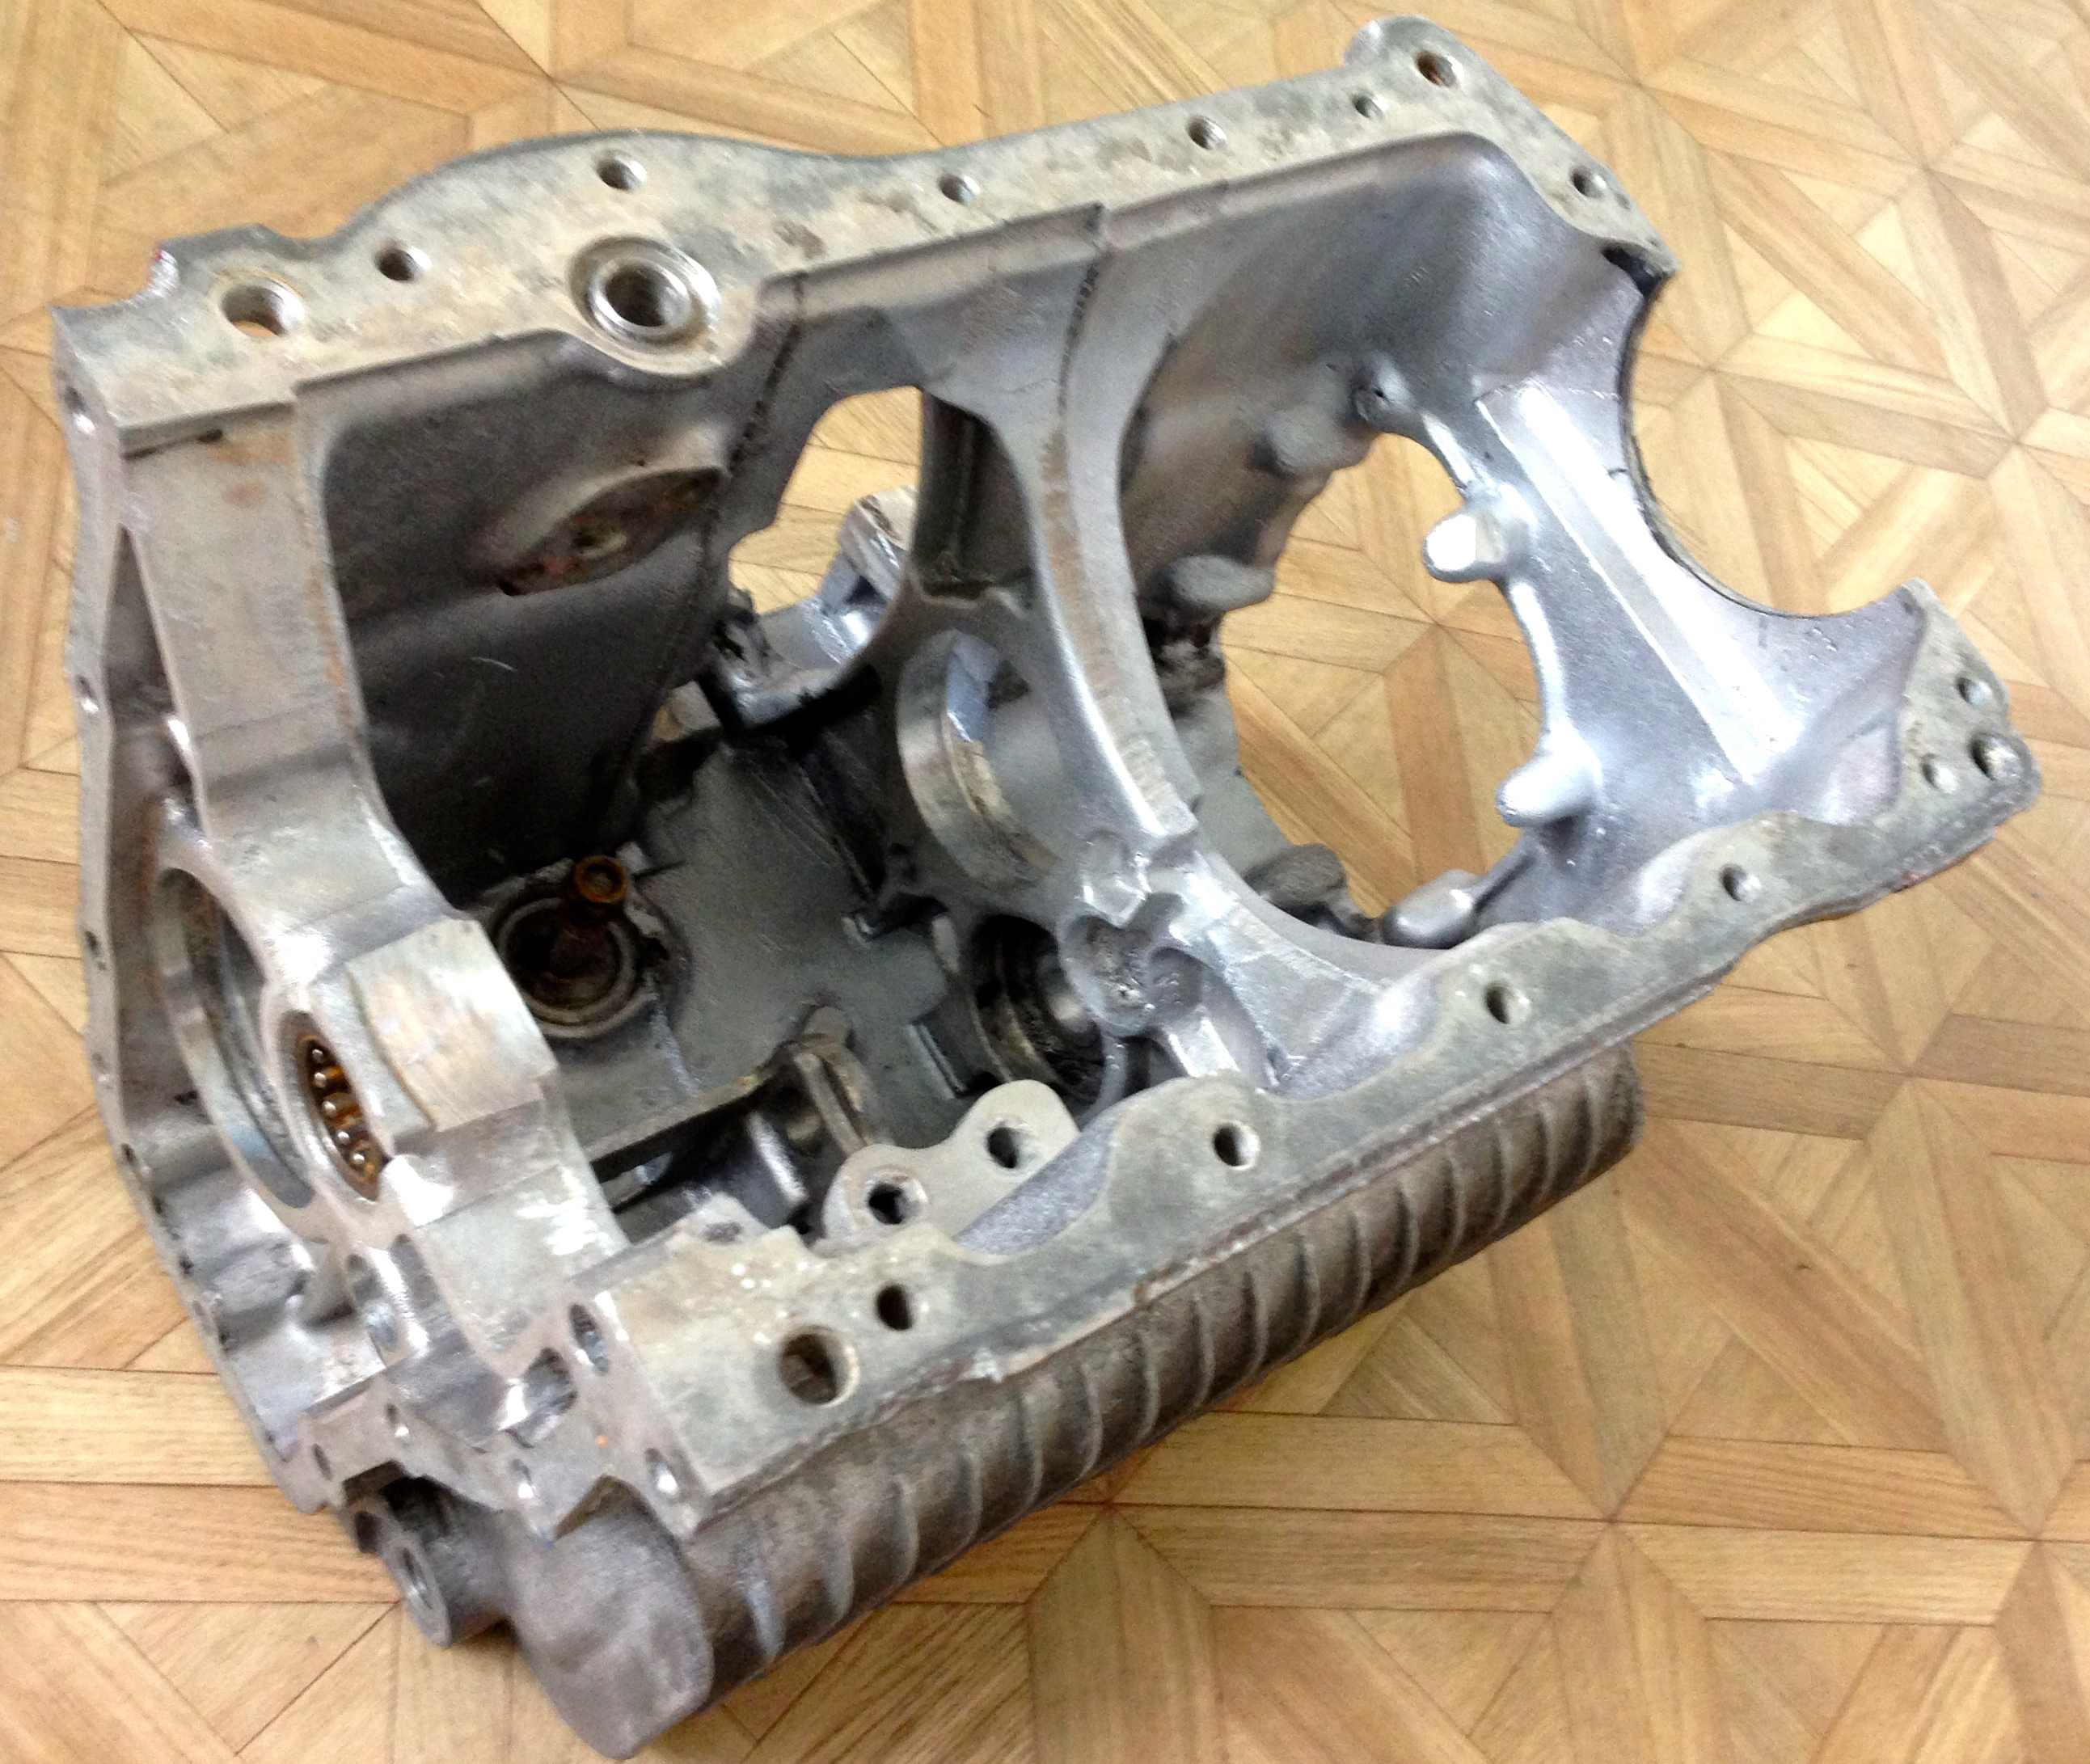
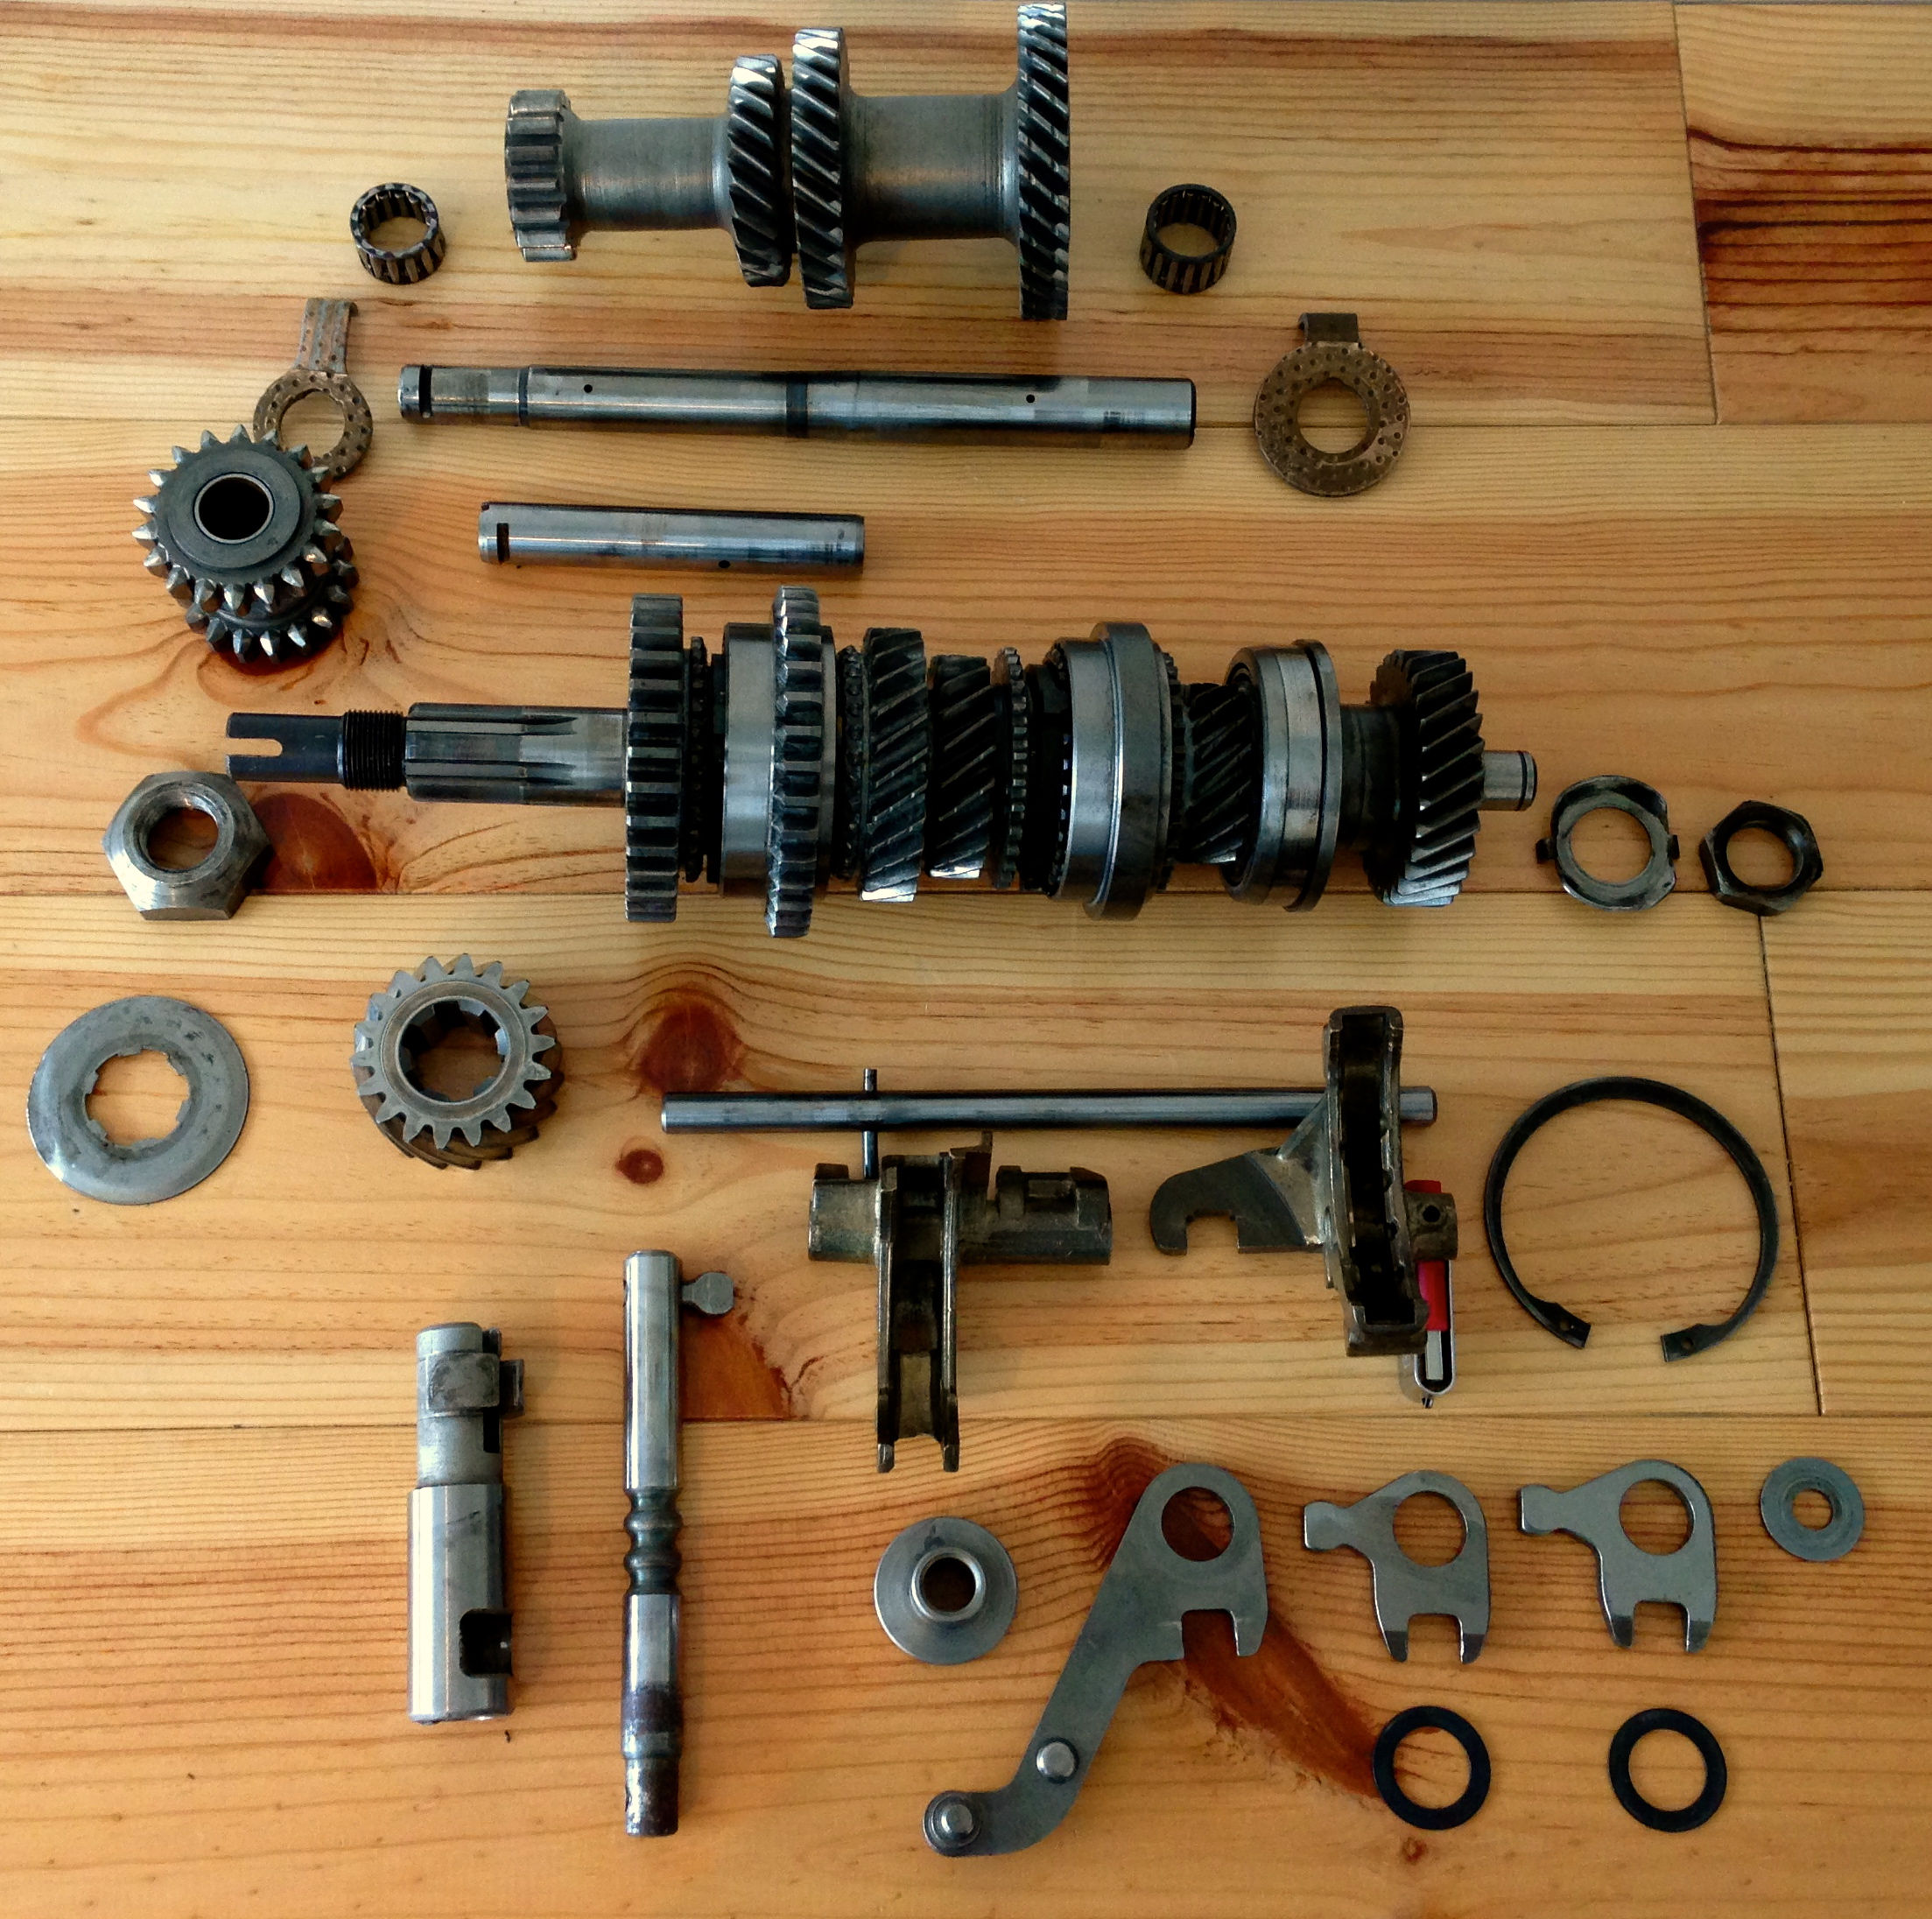
Next job is to sort out engine balancing – everything will be going back to Toovey to be weight matched, shot peened, end over balanced and then the complete bottom end dynamically balanced. Rods will be fitted with ARP bolts and nuts and the flywheel keyway and bolt will be replaced with MED versions.

I am in urgent need of a 1275 std dampened crank pulley….. The unit that came with the engine is shot and the rubber bonding ring has perished beyond use. Does anyone have one going spare for a sensible donation of course?

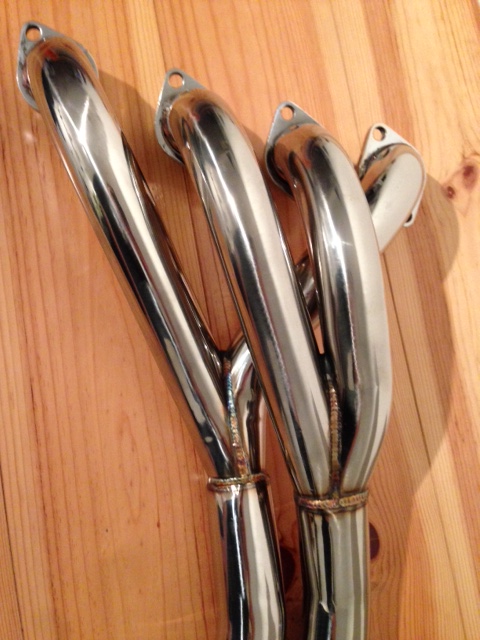
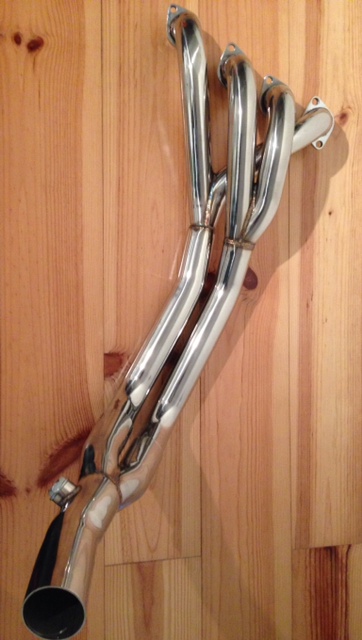
I have also been speaking with John at SC again regarding the last items i need to order from them to complete the build. SC have not have the road stainless manifold in stock for a couple of weeks now. But John has informed me that they should be in stock early May. Just incase anyone is in urgent need to get hold of a manifold and cannot wait till new stock, SC do manufacture a steel version and its currently in stock…. but its the same price as the stainless unit. Pitty its not cheaper for those of use that want to wrap our manifolds but its there if anyone wants one.

Finally the half decent weather is on its return. Our 2 cars will be back on the road in May but ill be waiting to get this built and fitted ASAP.

Im never going to hit the May 1st running deadline now so being more realistic ill move it a 6 weeks to June 15th ish.

Ad

head

Gearbox stripping…

Posted: April 1, 2013 in Uncategorized

Over the bank holiday weekend i have stripped the gearbox, inspected and cleaned the  all of the components that are serviceable and can be reused. The casings has been cleaned through my parts wash a couple of times and has come up reasonable. Id like it blasting to get it looking mint really. The diff output plates and speed-o gear drive housing have been cleaned acid etched and then painted matt black.

Looking at the state of the box internals, it’s not a pretty diagnosis. 2nd gear is shot, 1st /2nd syncro-hub is worn, the reverse idler bush will need renewing and there is surface damage to the 3.44 pinion gear. Ill be getting on to guessworks to see if he has anything suitable that i can purchase for the rebuild. All of the bearings / bushings will be renewed, a choice of useful mods and a new uprated layshaft will be fitted when completing the rebuild. Im going to see if i can get the head back this week also. Hopefully then some proper engine building can start. 30 days….. Gulp!

A+ Gearbox casing

A+ Gearbox casing

Diff output and speed-o gearing castings

Diff output and speed-o gearing castings

A+ Gearbox breakdown

Gearbox breakdown

Pinion tooth surface damage

Pinion tooth surface damage

2nd gear damage

2nd gear damage


Thought i was slacking again on this so thought its time for an update.

Well the head is still at Toovey’s getting prepped. I have also asked him to burette the combustion chambers to clarify an exact cc so i can calculate my compression ratio. Also i have decided to have the valve seats cut and everything done on the head what can be while its down there. I thought there was no point messing around with it for the sake of a few quid here and there.

I have also started stripping the gearbox as i have decided ill rebuild it to a spec i’m happy with. Taking guidance from a few sources. Having stripped the box down to inspect the individual gears 2nd gear is shot. The sync-ro hub has excessive wear / damage and this will need to be replaced. Guessworks has parts available for this. The rest of the box will get a full overhaul and then a x-pin diff will be fitted.

Seeing that i’m still waiting for the head to come back i could really be getting on with the bottom end of my engine. Im dragging my heels over this at present and really need to get my act together with it. Im still undecided about this crank pulley selection and flywheel weight combinations. I think its a case of too much thinking and i really just need to go with what i think will be right and then see how it turns out.

So in the mean time i have been cleaning / painting smaller parts up ready for the engine re-assembly and for the gearbox to be built back when i can.

My cam cover is painted in Vauxhall Arden blue pearl if anyone wants to know the colour of it. The picture only shows first coat of base coat it will be having 3 of these and then at least 3 coats of clear.

K100 cam cover

K100 cam cover

The weeks are flying by at present and hopefully the engine is somewhere near in May. Fingers crossed.


Ad